Project 6500K – WIP 02
Part 4 – Modelling
April 12 2026
While working on the seat model, I realized that the characters could be even closer to the windows. However, the main character, with his hood, was passing through the glass because of his proportions. The solution was to reduce the depth dimensions at the bottom of the hood.
As I was adding models, I took some time to adjust the lighting here and there, as well as the preliminary compositing. The atmosphere has evolved slightly, particularly around the windows.
En travaillant sur le modèle des fauteuils, je me suis rendu compte que les personnages pouvaient être encore plus proches des vitres, cependant, le personnage principal, avec sa hotte, passait à travers avec ses proportions. La solution: réduire les dimensions en profondeur en bas de la hotte.
Alors que j’ajoutais des modèles, j’ai pris le temps d’ajuster l’éclairage ici et là, de même pour le compositing prévisionnel, l’ambiance à légèrement évoluée, notamment au niveau des vitres.
Part 5 – Modelling
May 17 2026
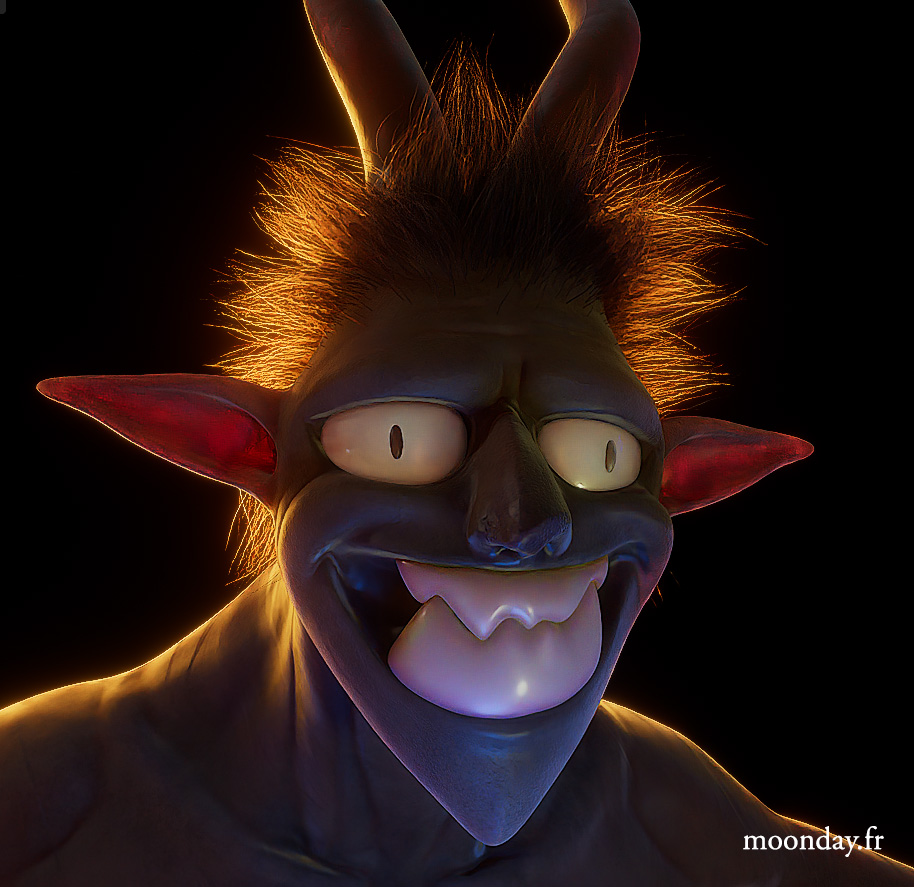
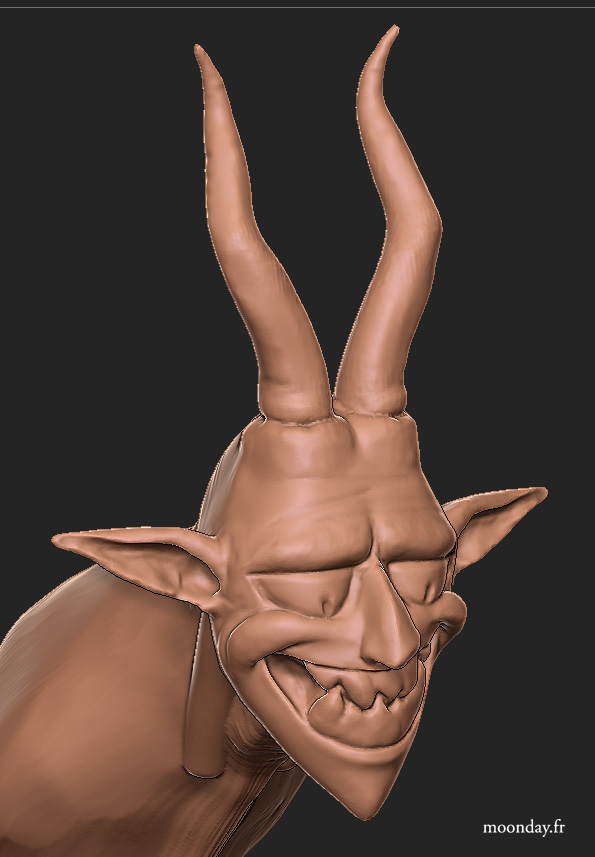
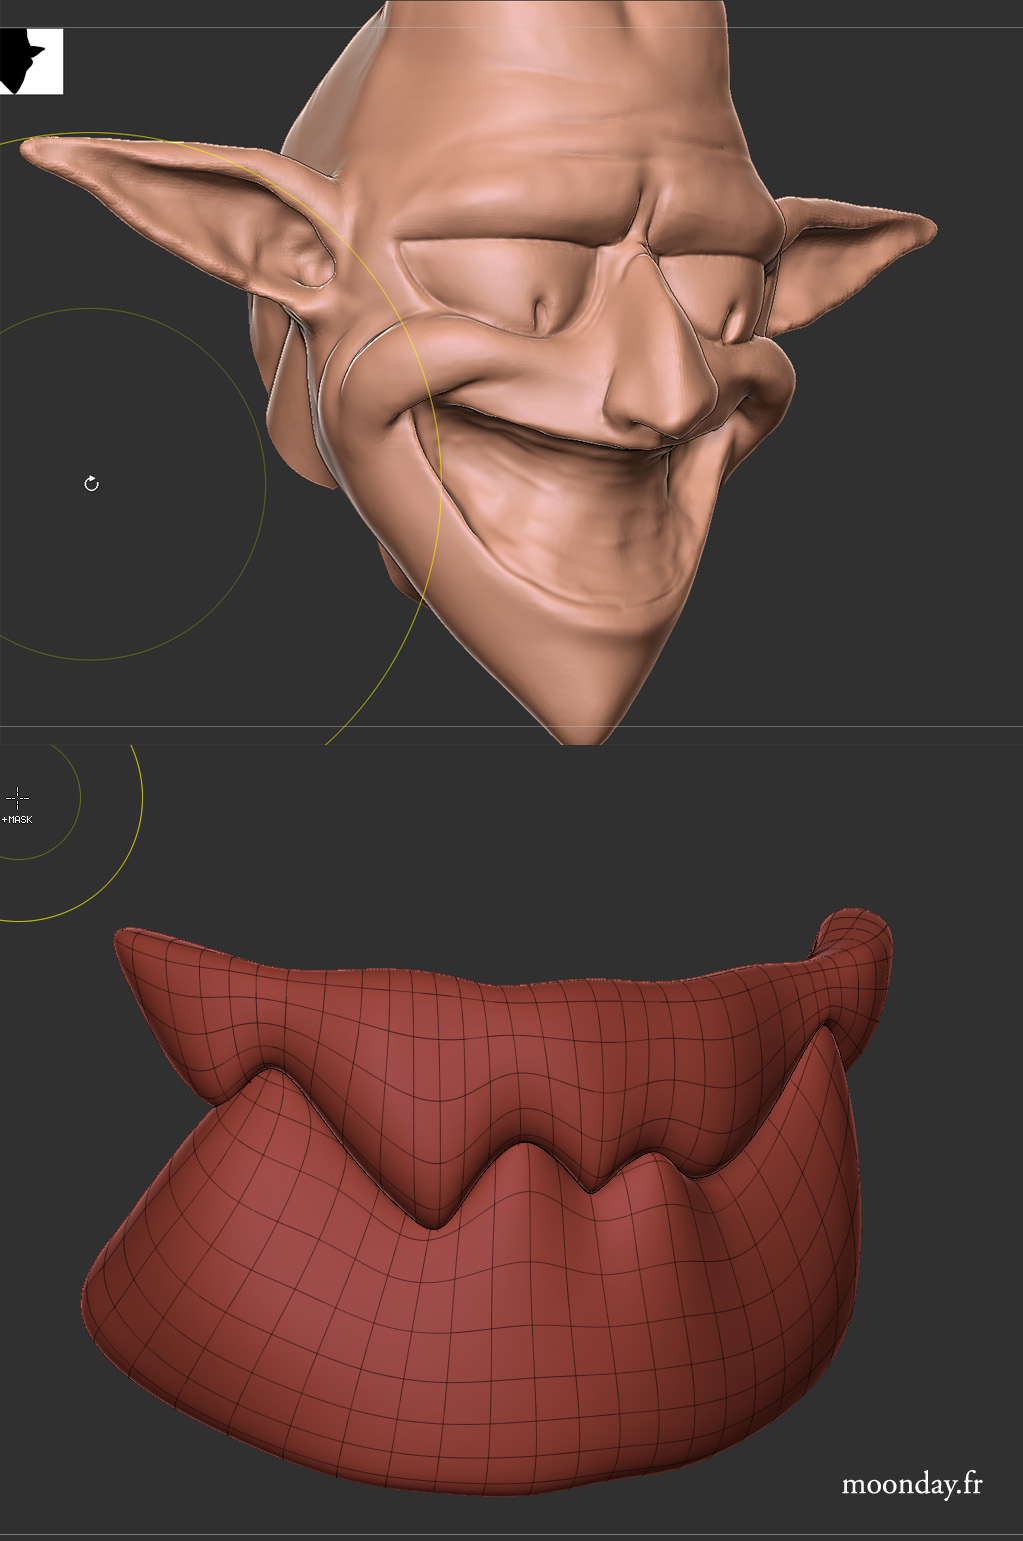
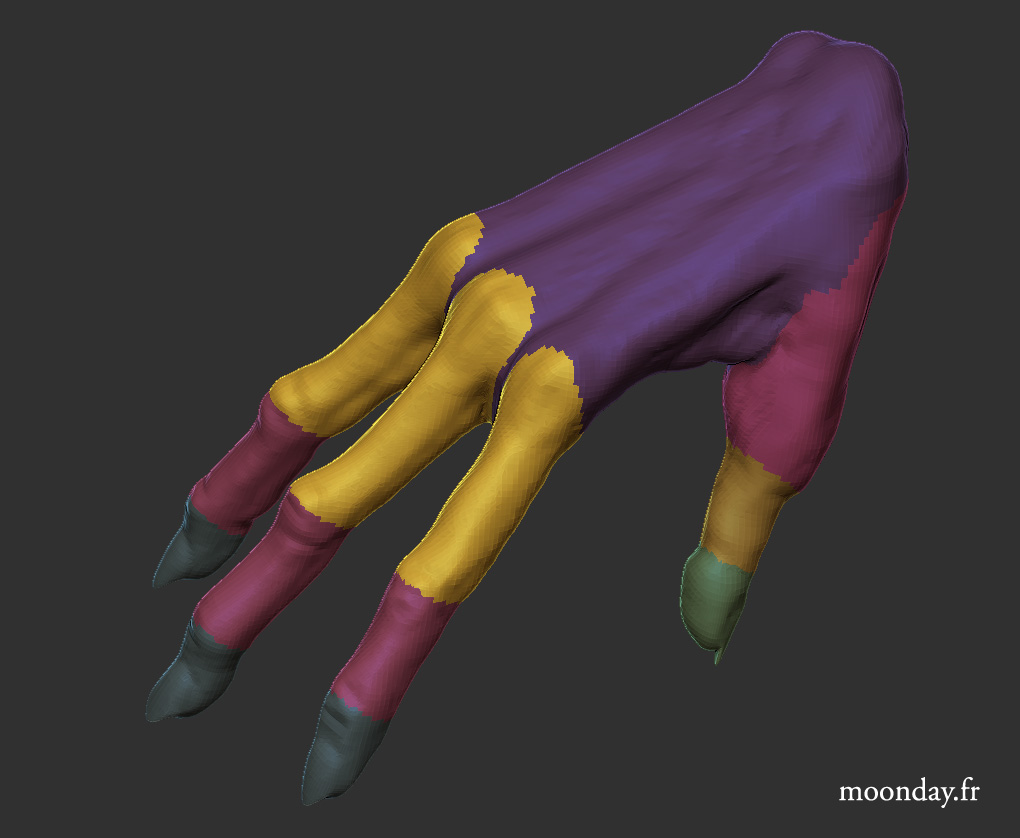
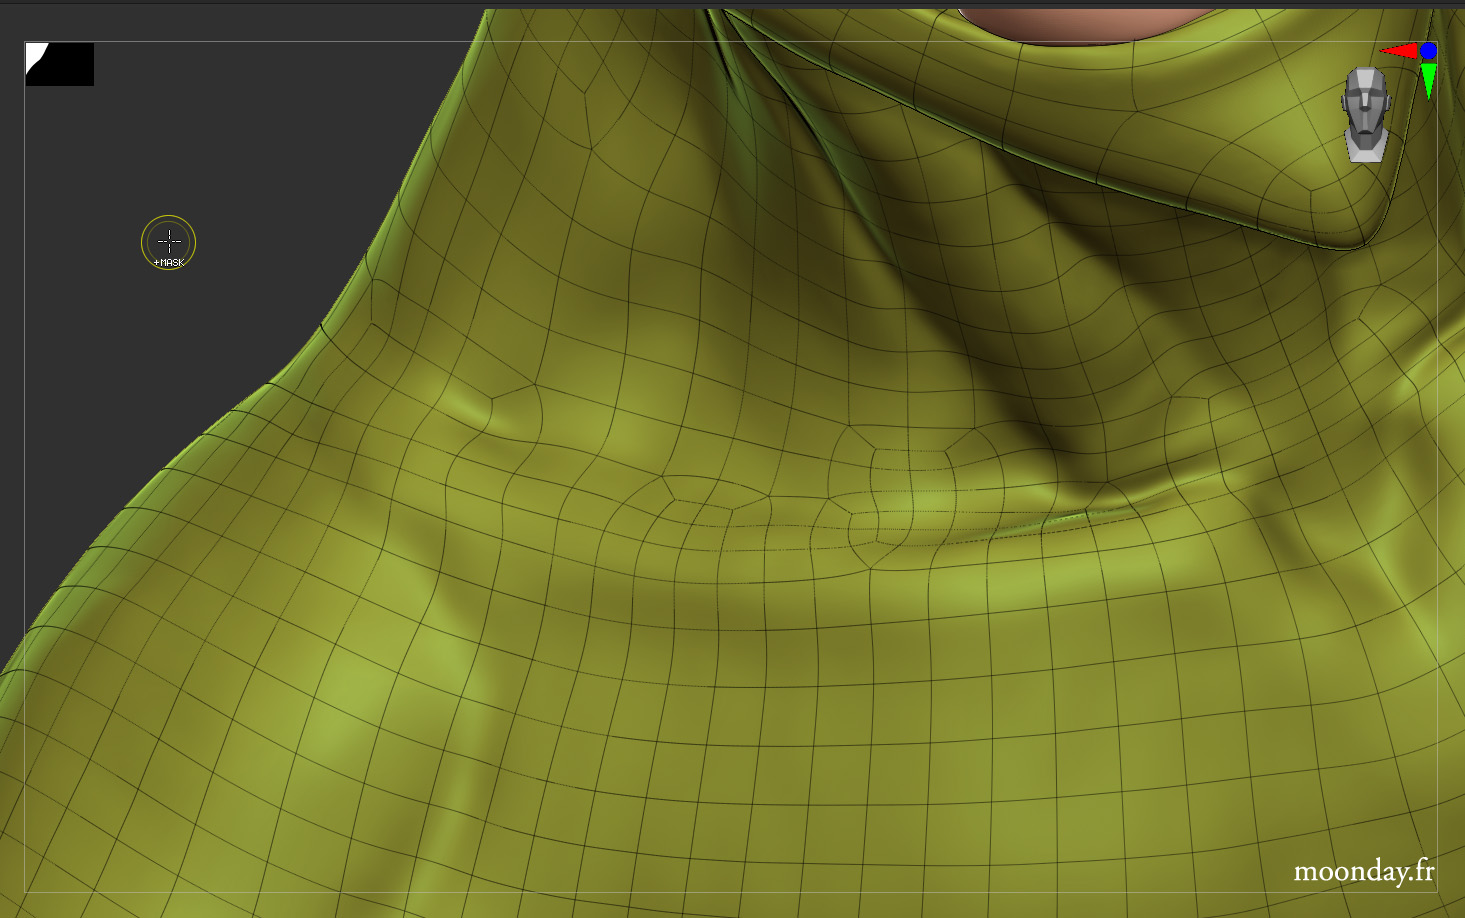
Once the various blockings had been adjusted to account for the updated set, I finally started modeling the main character in two parts: the head and the body. After a few days of working on the sculpt, I decided to move on to retopology in order to merge the two parts of the model into a single mesh. I also took the opportunity to create the eyes and teeth as separate meshes, making the texturing and the upcoming rigging + skinning stages easier. I’m planning to put the character into his final pose and then sculpt-adjust the mesh in certain areas so that it integrates properly into the environment.
I happily dove back into fur and hair generation with Geometry Nodes to run some quick tests, and I’m looking forward to properly tackling this stage of the project, which will come right after posing the character.
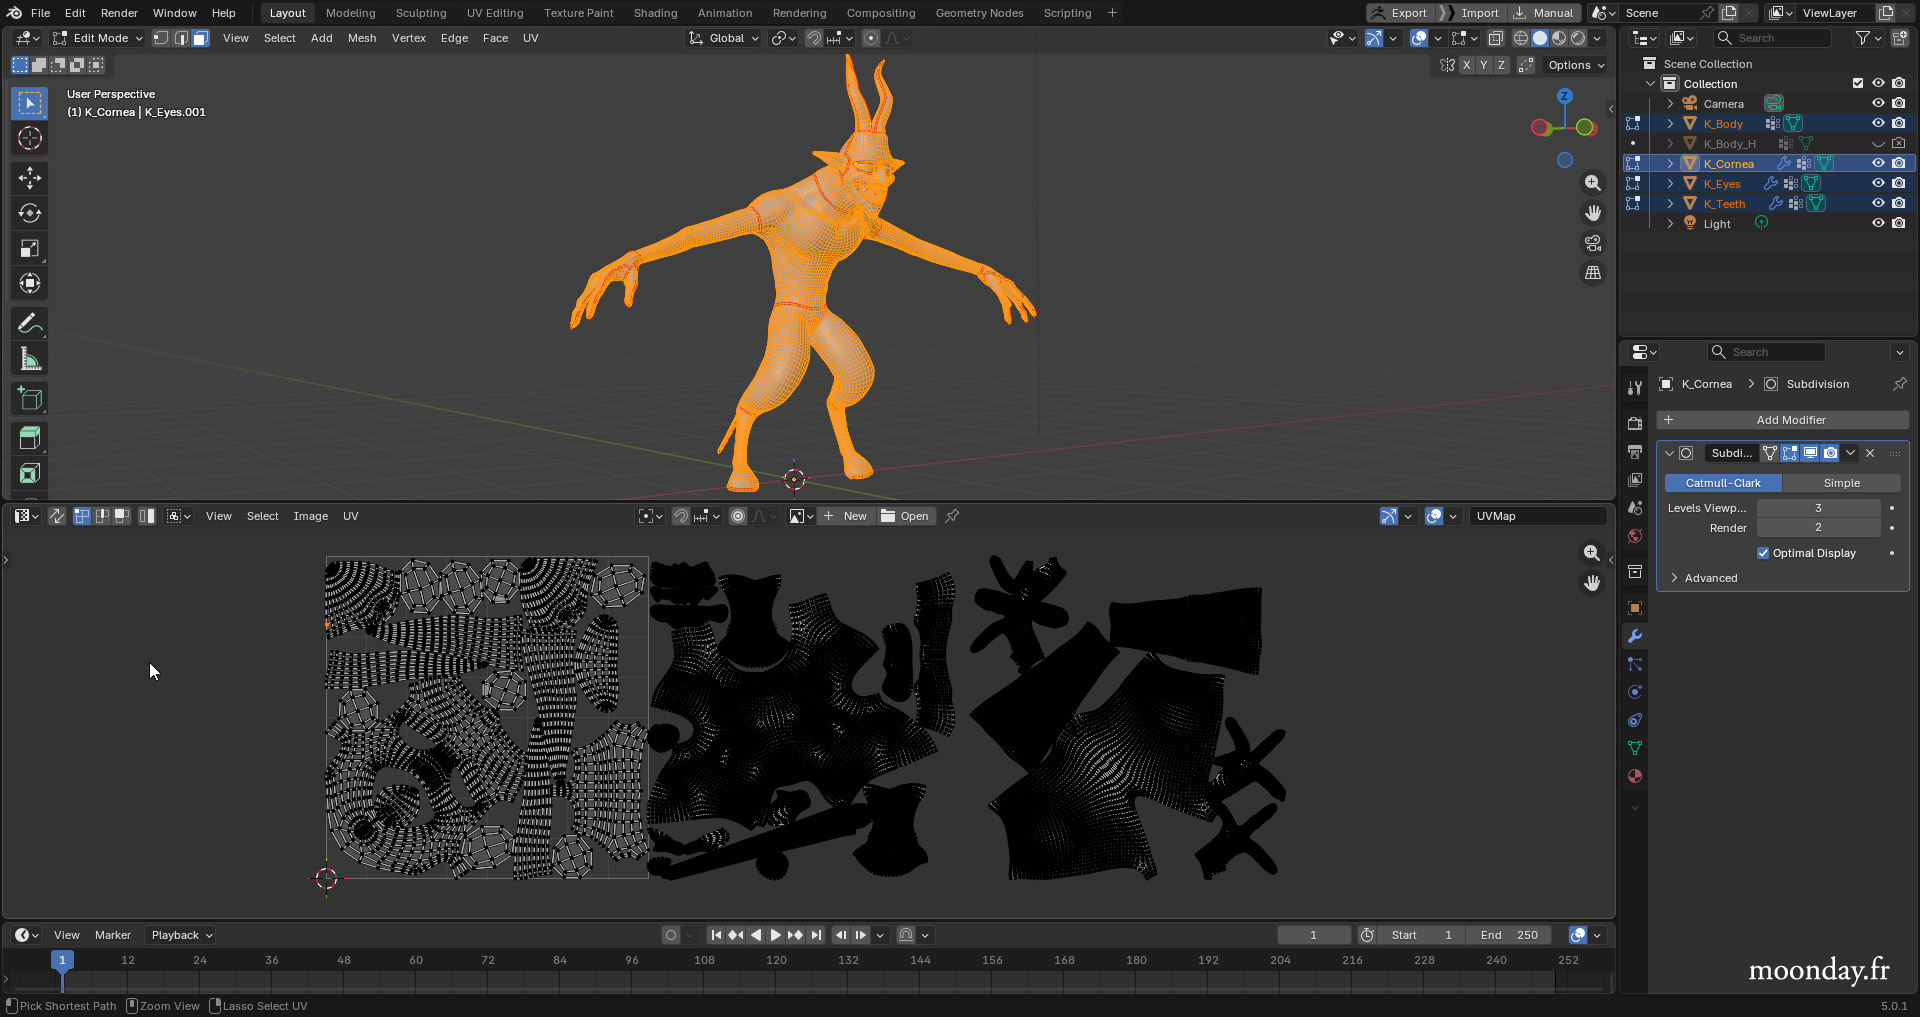
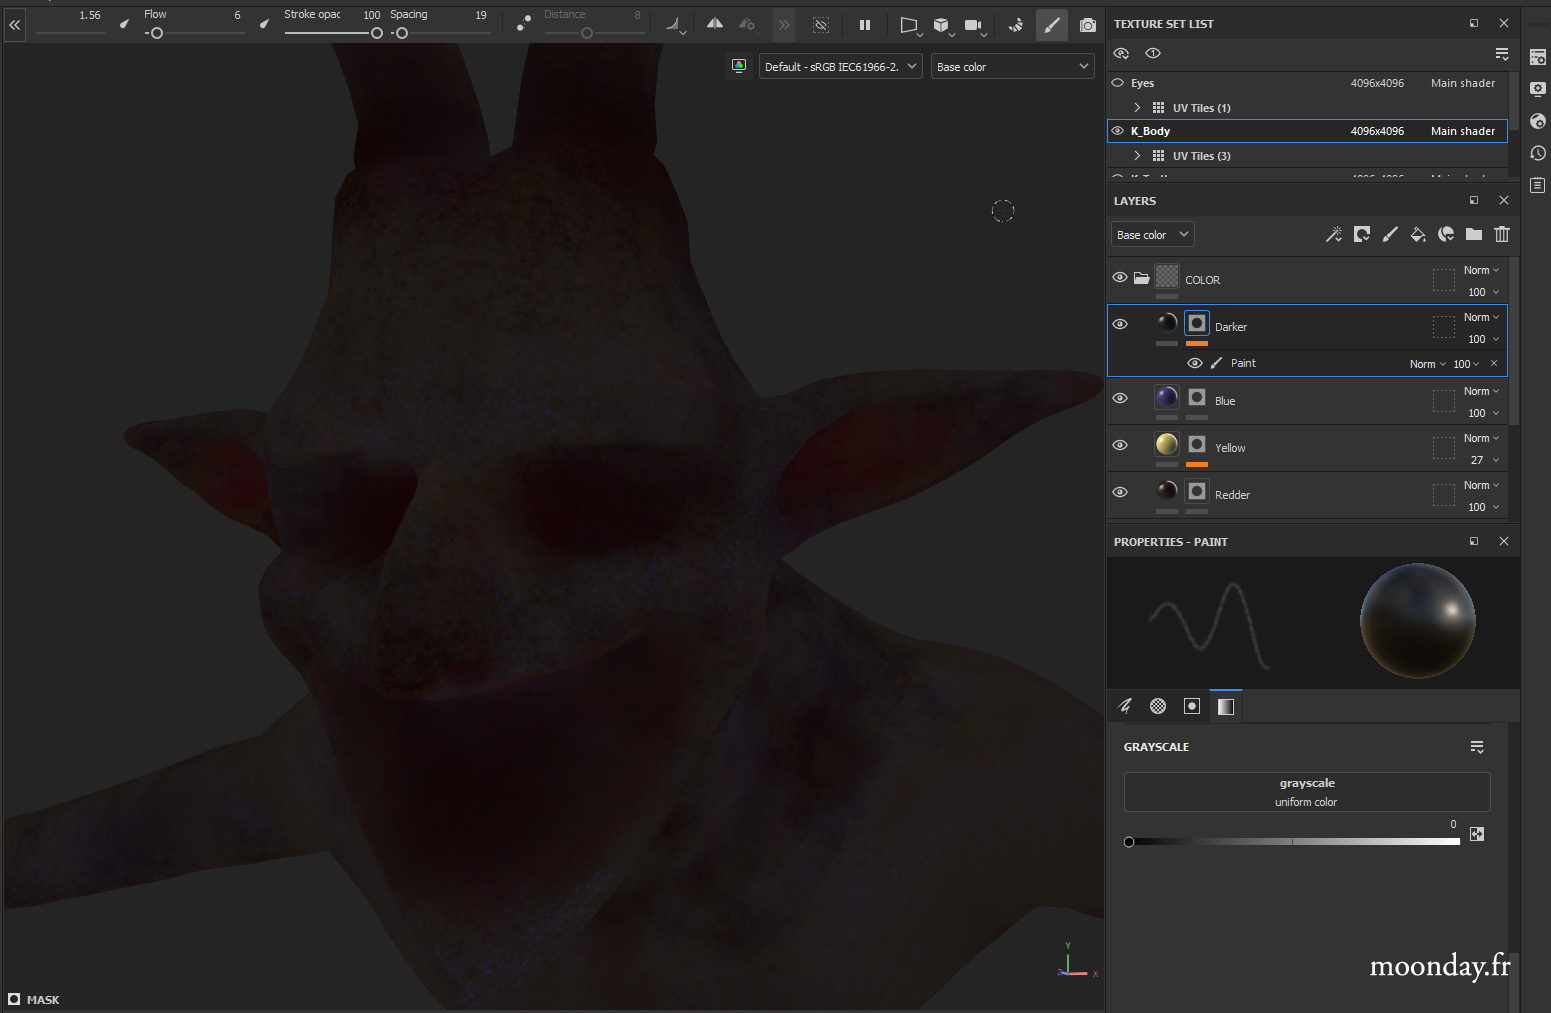
I used Painter to texture the character, as well as Designer to quickly create procedural textures for the eyes, including the base color and pupils. I used separate UVs to easily control the look at direction of the character’s eyes in the 3D scene, since their shapes are far from spherical.
Une fois les ajustements des différents blockings effectués par rapport à la mise à jour du décor, je me suis enfin lancé dans la modélisation du personnage principal en 2 parties: la tête et le corps. Après quelques journées à travailler sur le sculpt, j’ai décidé d’attaquer la re-topologie pour joindre les 2 parties du modèle en un seul mesh. J’ai pu donc en profiter pour créer les yeux et les dents dans des maillages séparés, afin de faciliter le texturing et la future étape de rig+skinning. Je prévois en effet de mettre le personnage en pose finale et d’ajuster le maillage en sculpt par endroits afin qu’il soit bien intégré dans le décor.
J’ai replongé avec joie dans l’édition de fourrure et cheveux avec les geonodes pour faire des tests rapides et j’ai hâte d’attaquer concrètement cette phase du projet qui viendra juste après la mise en pose du personnage.
Je suis passé par Painter pour texturer le personnage et aussi Designer pour rapidement créer des textures procédurales pour les yeux, base color et pupilles utilisant des UV différent pour facilement orienter le regard dans la scène 3D, étant donné que ses yeux ne sont absolument pas sphériques.
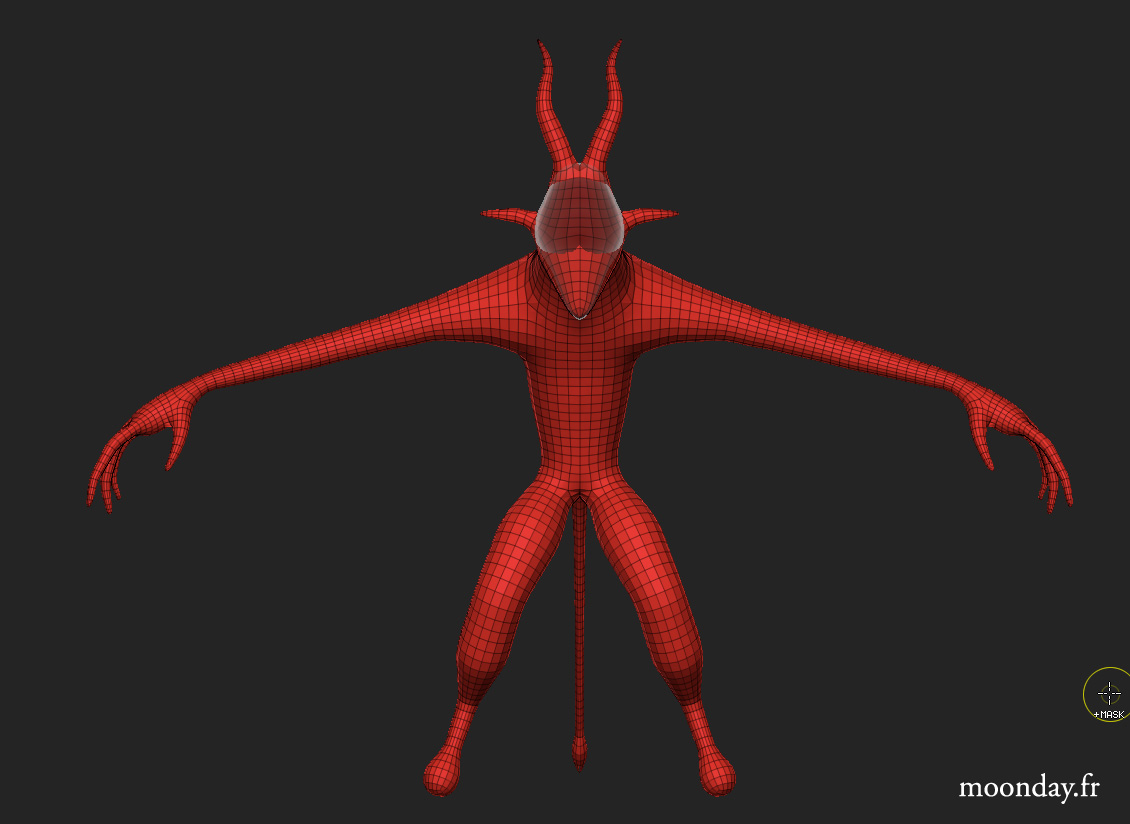
Zspheres to Zremesh model
Part 6 – Fur
June 14 2026
After careful consideration, I decided to approach the fur and hair in the project in a stylized way, in order to avoid creating any visual discomfort in the final render. (This will therefore require going back to the textures I’ve already created and making a few adjustments to keep everything consistent.)
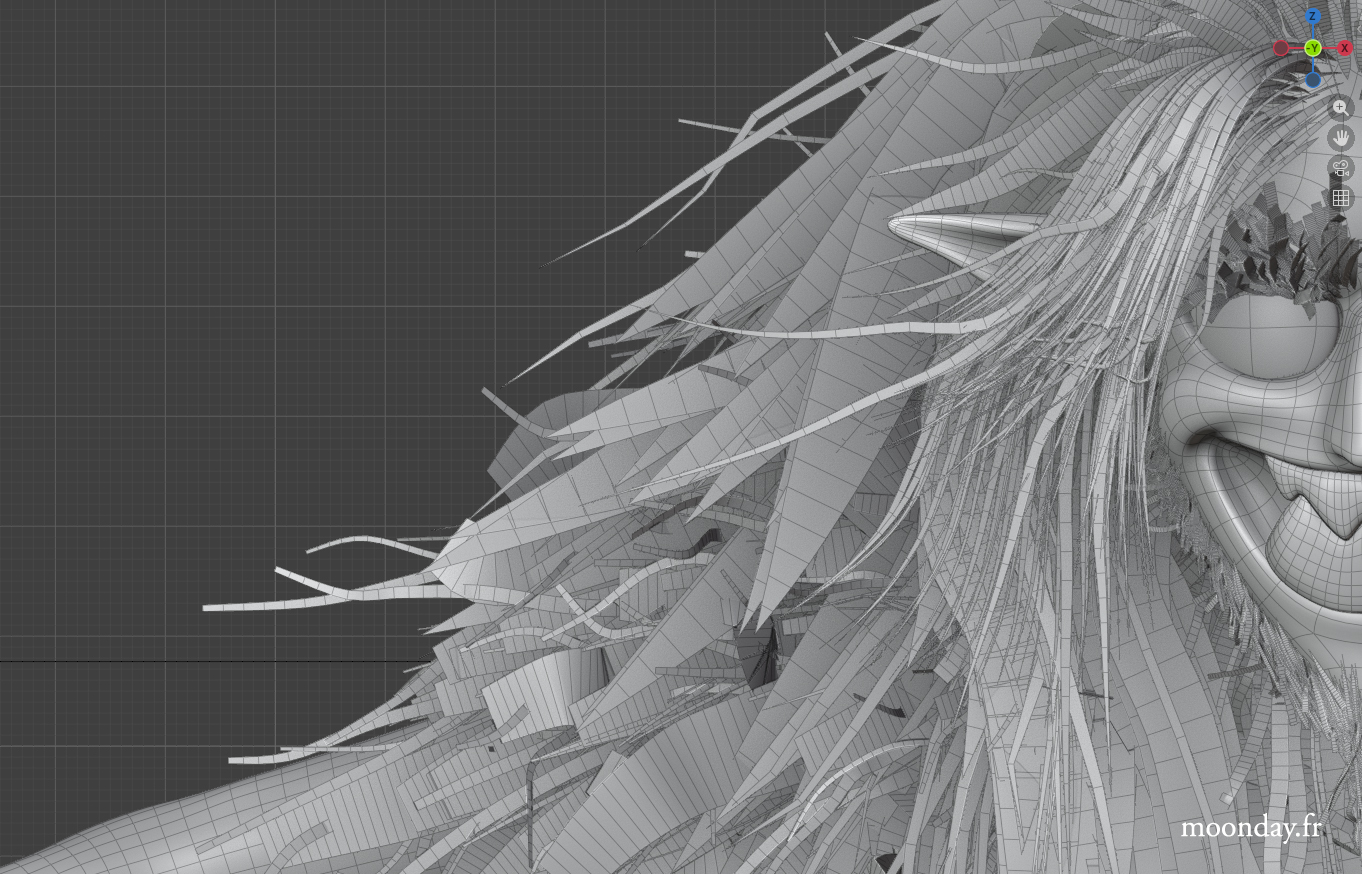
In the meantime, I started with a basic “hair” Geometry Nodes system, which I modified to create a hair card system. I had already worked extensively on this subject last year while testing a stylized 3D render based on one of my illustrations, so I now have the advantage of understanding Geometry Nodes better and being able to achieve the desired look more quickly.
I can already say that creating the fur for the main character will be less complicated to set up than the workflow I used when creating the long hair of the female character in my illustration, “Un avion en papier dans la nuit”
Après mûre réflexion, j’ai décidé d’aborder les fourrures et cheveux du projet de façon stylisée afin de ne pas créer de malaise visuel dans le rendu final. (Cela demandera donc de retourner sur les textures déjà créées et d’y ajouter quelques modifications afin d’uniformiser le tout)
En attendant, je suis parti sur un système basique de geonodes “hair” que j’ai modifié pour créer un système de hair cards. J’avais en effet déjà bûché sur le sujet l’année passée lors d’un test de rendu stylisé sur une de mes illustration transposée en 3D, et j’ai donc pour avantage, un an plus tard, de mieux comprendre les geonodes et de pouvoir obtenir plus rapidement le look désiré.
Je peux dès à présent annoncer que la création de la fourrure du personnage principal sera moins compliquée à mettre en place que workflow utilisé lors de la création des longs cheveux du personnage féminin de mon illustration “Un avion en papier dans la nuit”