
Cuddles – Part I – Hi I’m Cuddles
At the beginning of 2021, I was approached by a client who wanted to create a virtual influencer and singer. After several presentations of character concepts by the client, the choice fell on a plush cat, because we like challenges.
Mission order: create 2 videos and several still image renders per month.
The first design was created very quickly in ZBrush and once approved, I started adjusting the proportions before tackling the two real challenges of the project: Fur and motion capture.
Au début de l’année 2021, j’ai été approché par un client qui voulait créer une influenceuse et chanteuse virtuelle. Après plusieurs présentation de concepts de personnages par le client, le choix s’est porté sur un chat en peluche, car on aime les challenges.
Ordre de mission: créer 2 vidéos et plusieurs rendus images fixes par mois.
Le premier design a très rapidement été créé dans Zbrush et une fois validé, j’ai commencé à ajuster les proportions avant d’attaquer les 2 vrais challenges du projet: La fourrure et la motion capture.

Very first concept from Zbrush
Mixamo initial test
For the fur, at the very beginning of the project, knowing that it’s an unpredictable aspect with countless bugs, I tried using a displacement-based method, but it was clear from the start that the “real fur” stage would be essential to finalize the character.
I invested in what is still, to this day, the best hair and fur generation plugin available for 3ds Max: Ornatrix.
The plugin offers a great deal of flexibility when it comes to creating and animating hair.
So I began running several tests to understand the order of the modifiers and their impact on the overall volume.
Pour la fourrure, au tout début du projet, sachant que cet un aspect imprévisible avec d’innombrables bugs, j’ai tenté d’utiliser une méthode à base de displacement mais il fallait se mettre en tête que l’étape “vraie fourrure” allait être essentielle pour finaliser le personnage.
J’ai investi dans ce qui reste encore à ce jour le meilleur plugin de génération de poils et cheveux disponible sur 3ds Max: Ornatrix.
Le plugin offre beaucoup de flexibilité quant à la création et à l’animation des cheveux.
Je me suis donc lancé dans plusieurs tests pour comprendre l’ordre des modifiers et leurs impacts sur le volume global.


After several attempts, I started getting close to an official version 01. What remained was properly managing the shaders so the fur would stand out brightly. This turned into a real headache at the material level in Arnold, which was only half solved by cheating. To achieve bright fur, you simply have to increase the number of transmission/glossy samples at render time. The problem is that this greatly increases render times, especially since at the beginning of the project I was rendering on CPU. So until I invested in a graphics card with a good GPU, I had to rely on shader tricks.
It was also necessary to find the right density-to-thickness ratio for the hairs: thinner hairs mean higher density.
This fur headache followed me throughout the entire project and was almost fully mastered during the work on the holographic concert.
Après plusieurs essais, j’ai commencé à m’approcher d’une version 01 officielle. Restait ensuite à bien gérer les shaders afin que la fourrure ressorte de façon lumineuse. Ici c’était un casse tête au niveau des matériaux dans Arnold qui fut réglé à moitié en trichant. En effet, pour obtenir une fourrure claire, il faut simplement augmenter le nombre de samples dans la transmission/glossy au moment du rendu, le souci est que cela multiplie grandement les temps de rendu étant donné qu’au début du projet je lançais les rendus en CPU. Donc jusqu’à ce que j’investisse dans une carte avec un bon GPU, je devais me contenter de bidouilles dans le shader.
Il fallait aussi trouver un bon ratio densité / épaisseur des poils. qui dit poils plus fins dit densité plus élevée.
Ce casse tête de fourrure m’aura suivi durant tout le projet et aura été presque maîtrisé lors du travail sur le concert holographique.

Before running new fur tests I adjusted the body proportions

Cuddles in Akihabara – the fur shading still looks terrible

We’re finally going somewhere…

Fur studies

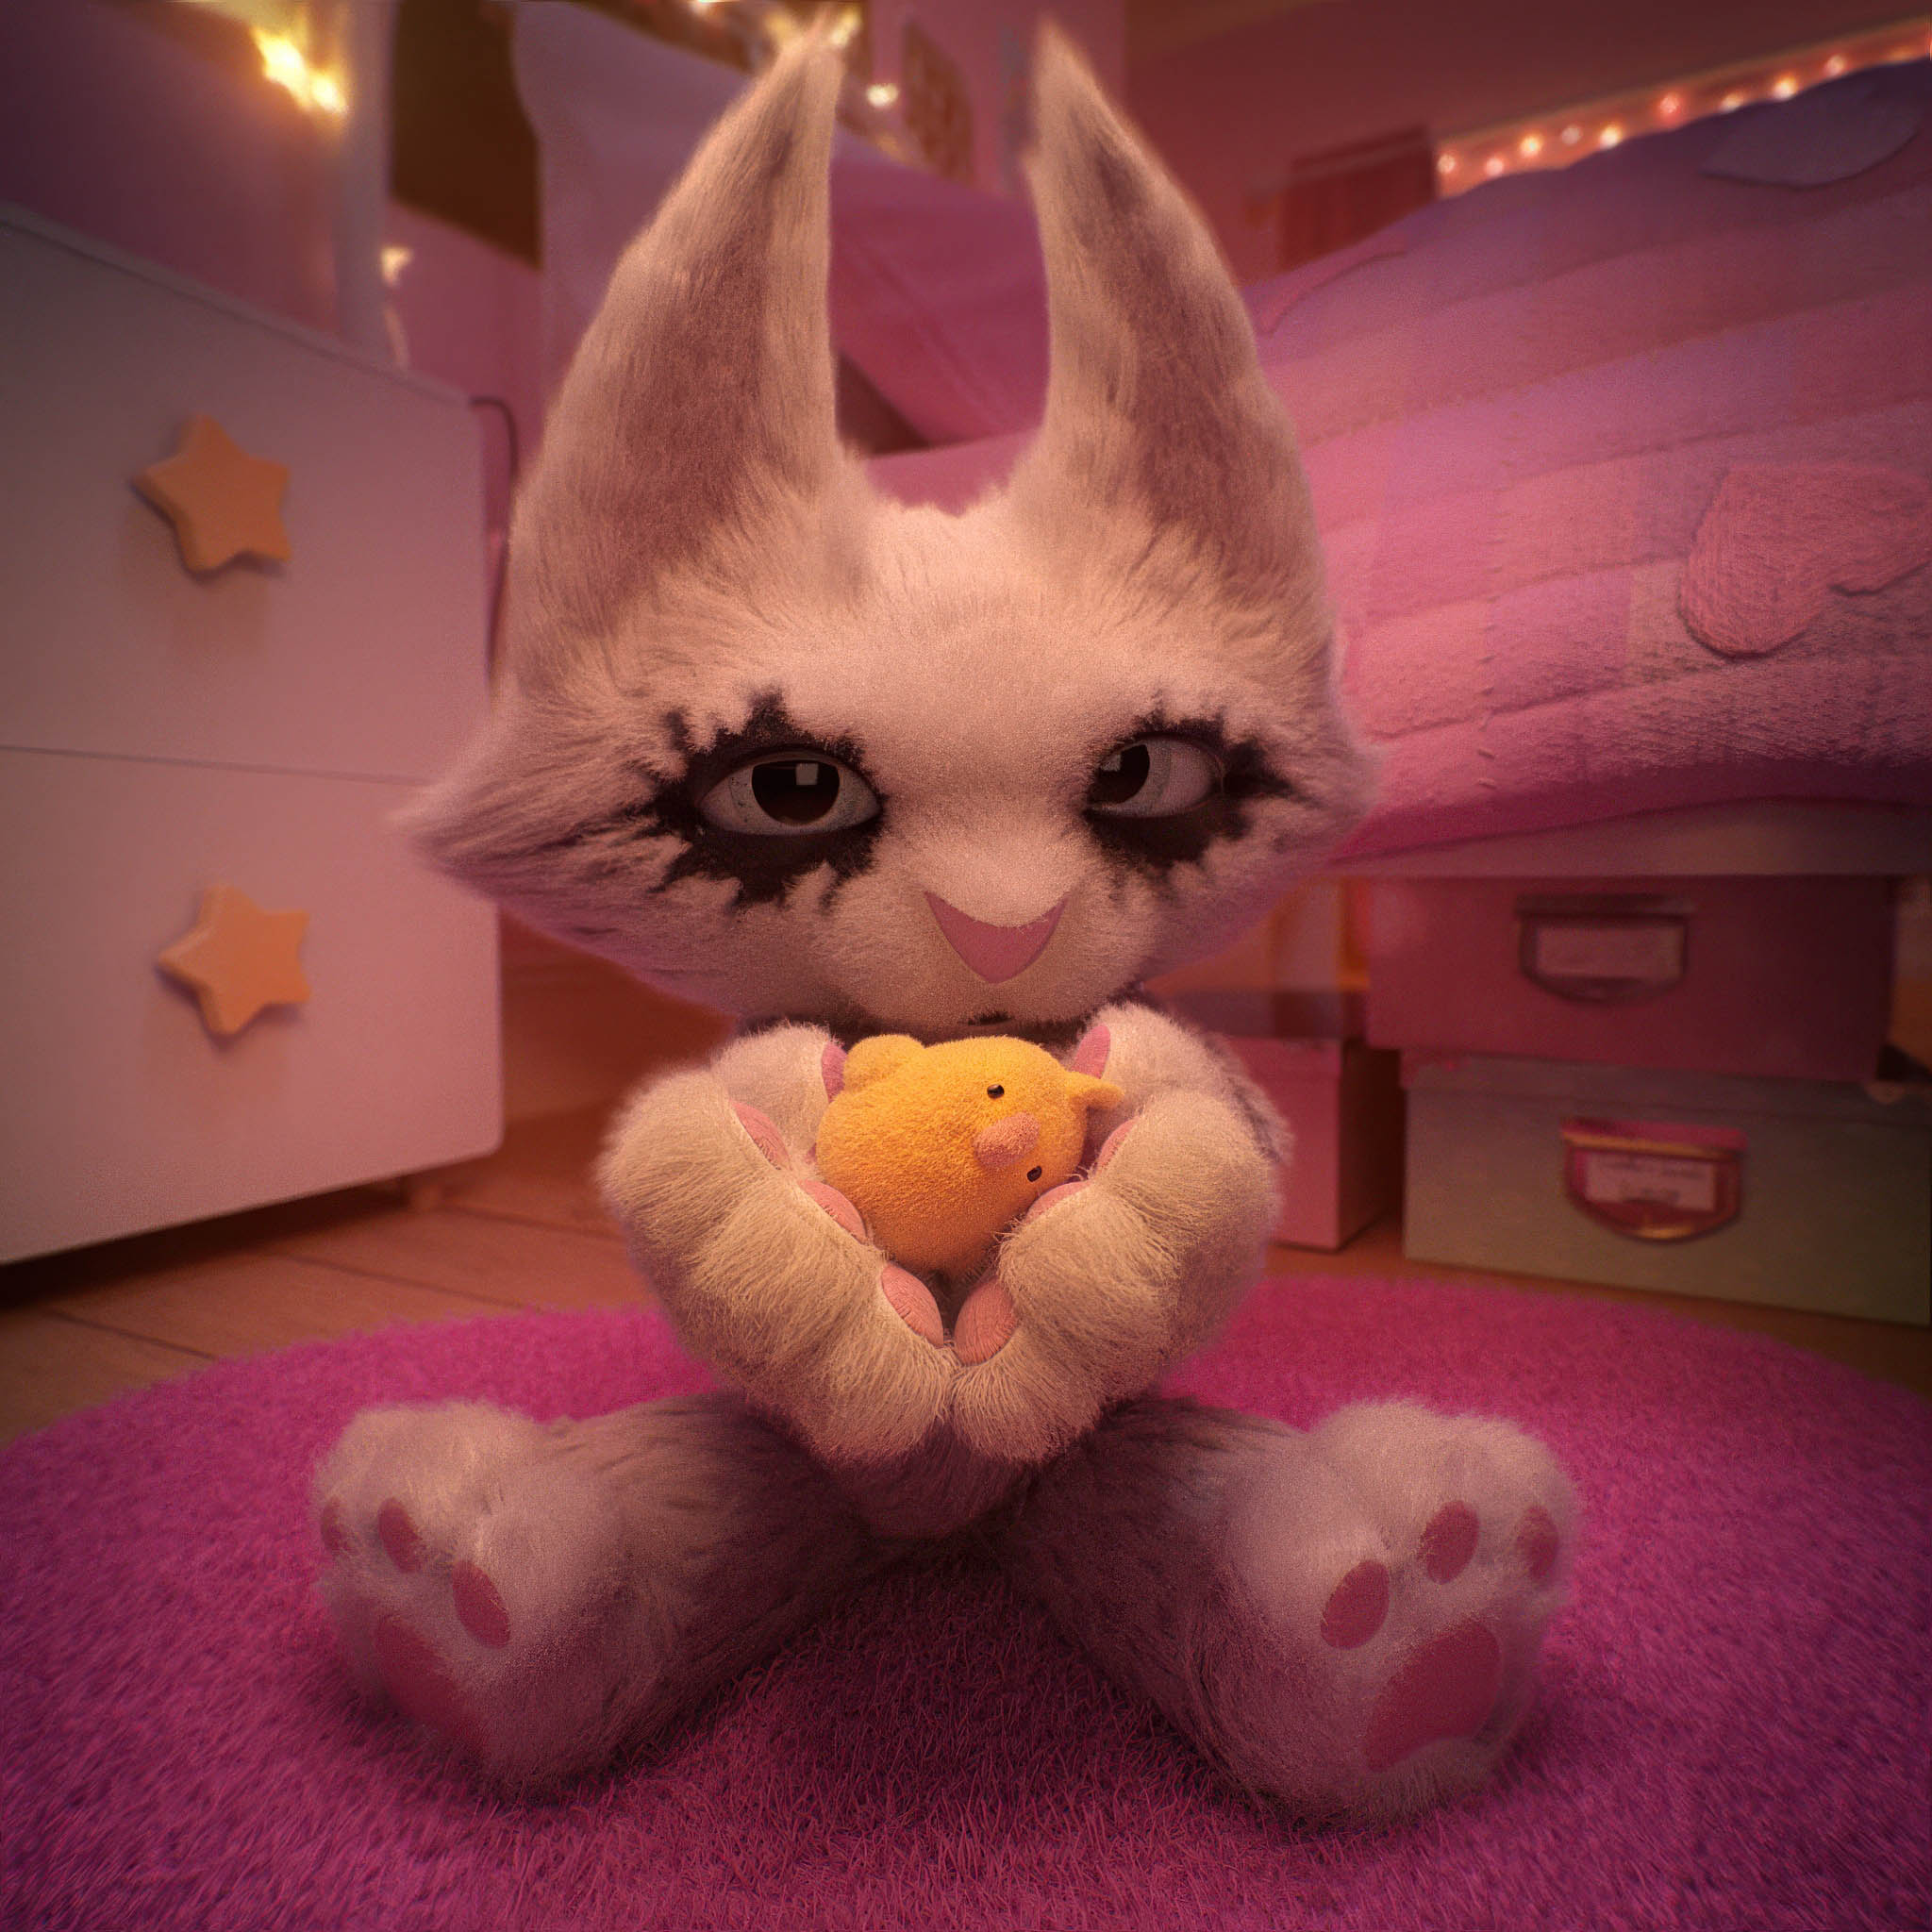
That looks like a real plush!

Ready to shoot! (Fur V01)
I ran some render test, tried to optimize render time by rendering half of the frame rate and final resolution, it looked good but wasn’t use in production.
Regarding motion capture, my client had invested in a Rokoko suit combined with facial capture via iPhone. He recorded the animations in Los Angeles and sent me the data online to Nantes, an international project, indeed. After several tests and exports, I found the right settings to transfer the motion capture onto Cuddles by going through a Biped, whose keyframes were cleaned up once, then retargeted to Cuddles’ CAT rig. Finally, some last adjustments were made to slightly move the character’s arms and legs farther away from the body locally.
Concernant la motion capture, mon client avait investi dans une combinaison Rokoko + capture faciale via iPhone. Il enregistrait les animations à Los Angeles et m’envoyait les datas via web sur Nantes, un projet international, en effet. Après plusieurs tests et exports, j’ai trouvé les bon paramètres pour transposer la capture de mouvement sur Cuddles en passant par un Biped, dont les keyframes étaient nettoyées une première fois, puis un Retarget vers le rig CAT de Cuddles, enfin des derniers ajustements ont été effectué pour localement écarter un peu plus les bras et jambes du personnage.
We definitely see a lot of cleaning will be needed on some joints

The facial mocap part was a bit more complex. I decided to use a morph target system. In total, 51 different expressions were created for the eyes and face. A simple retarget was done by instancing the keyframes from the 3D face imported from Rokoko and pasting them onto Cuddles’ Morpher.
Later on, I opted for an even more complex system to better match the captured expressions of the actress (mocap retarget article available here).
A quick note about secondary animations, such as Cuddles’ pendant swinging from the collar when the character moves. I used a PhysX simulation with orientation constraints to prevent the pendant from moving all over the place. The model would collide with a simplified version of Cuddles’ torso (just a few polygons), and everything was then cleaned up in the graph editor to smooth out the rotations. This process worked almost perfectly on the first try nearly every time.
La partie mocap faciale était un peu plus complexe. J’avais décidé de partir sur un système de morph target. Au total, près de 51 expressions différentes ont été crées pour les yeux et le visage. Un simple retarget via une copie en instance des keyframes du visage 3D importé depuis Rokoko et collée sur le morpher de Cuddles.
Par la suite j’ai opté pour un système encore plus complexe afin de coller au mieux aux expressions capturées de l’actrice (Article disponible ici).
Un petit point sur les animations secondaire, comme celle du pendentif de Cuddles qui oscille, accroché à son collier quand le personnage bouge. Je suis parti sur de la simulation PhysX avec des contraintes d’orientation pour éviter que le pendentif ne se ballade dans tous les sens. Le modèle entrait en contact avec une version simplifiée du torse de Cuddles (quelques polygones seulement) et le tout était ensuite nettoyé dans le graph editor pour lisser les rotations. Ce procédé fonctionnait presque à chaque fois du premier coup.
Once the simulation was baked, I added an offset on X rotation to avoid the pendant to go through the fur
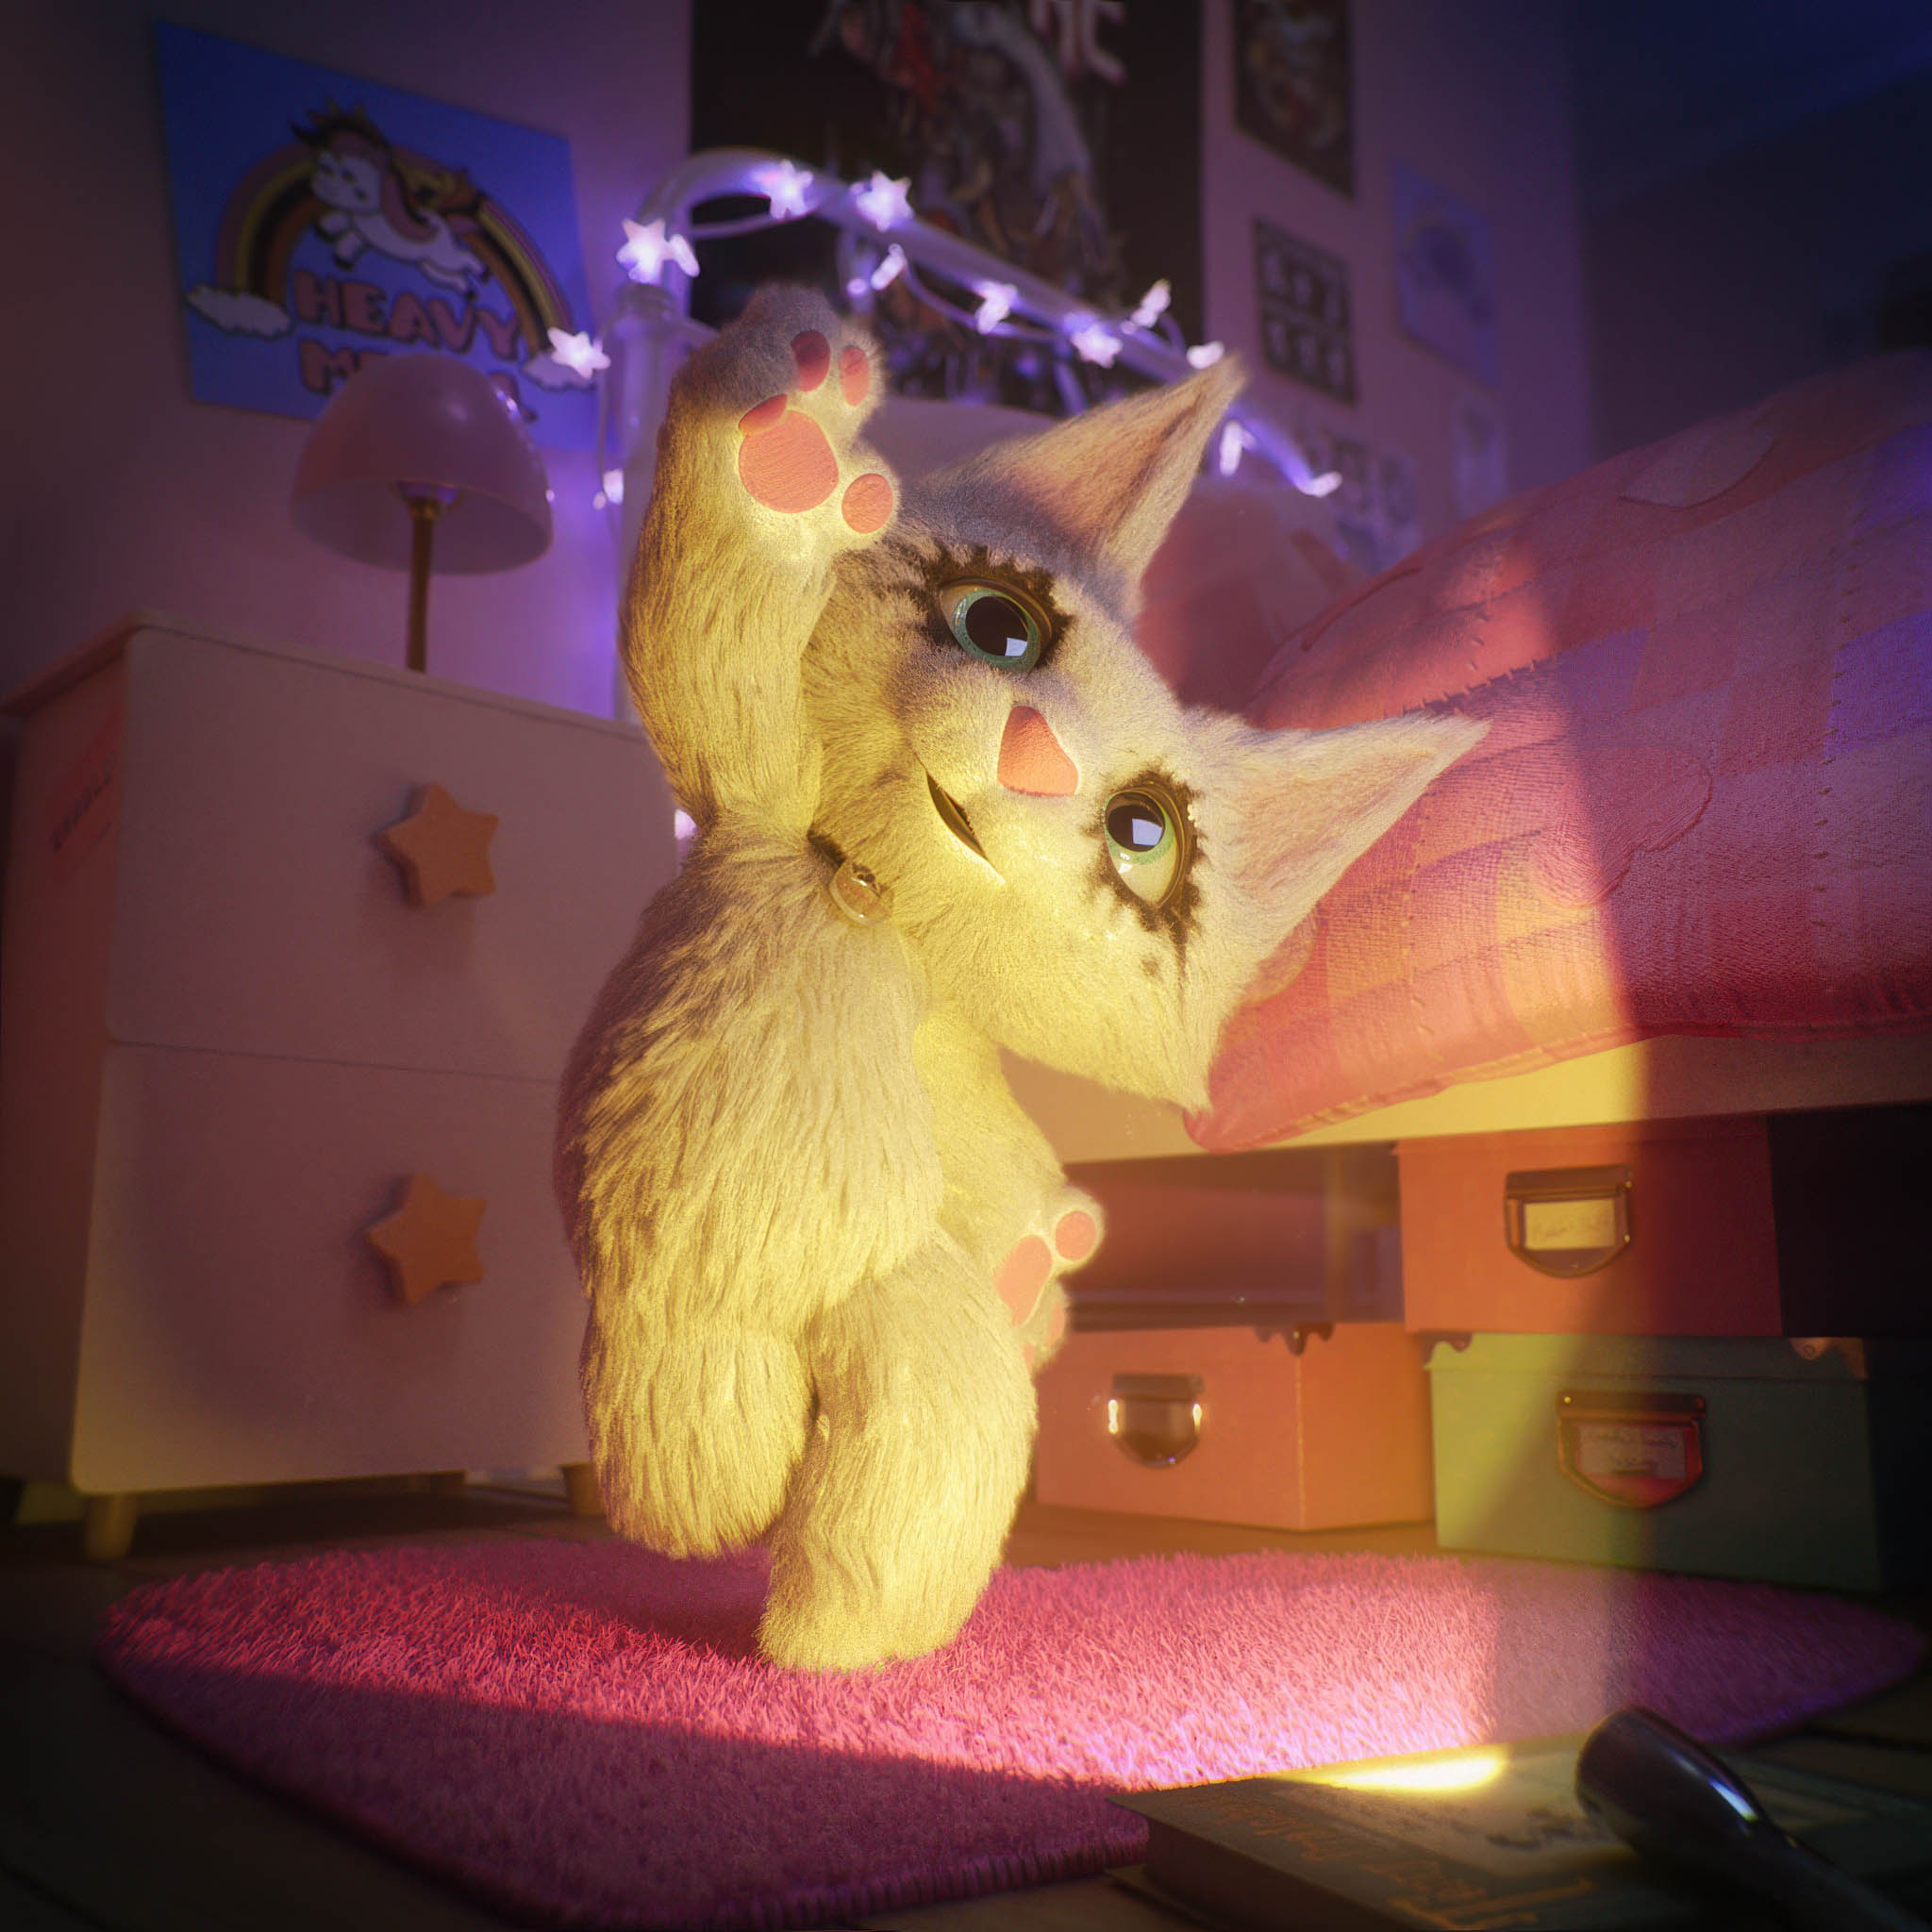
Once the Character + animation concept was approved, I was able to fully dedicate myself to creating the set from which Cuddles would produce her various videos and photos.
Here again, all the elements were created in 3ds Max using the basic tools, with GrowFX helping in the creation of the garlands.
Substance Designer was an invaluable asset for the procedural generation of all the project’s textures.
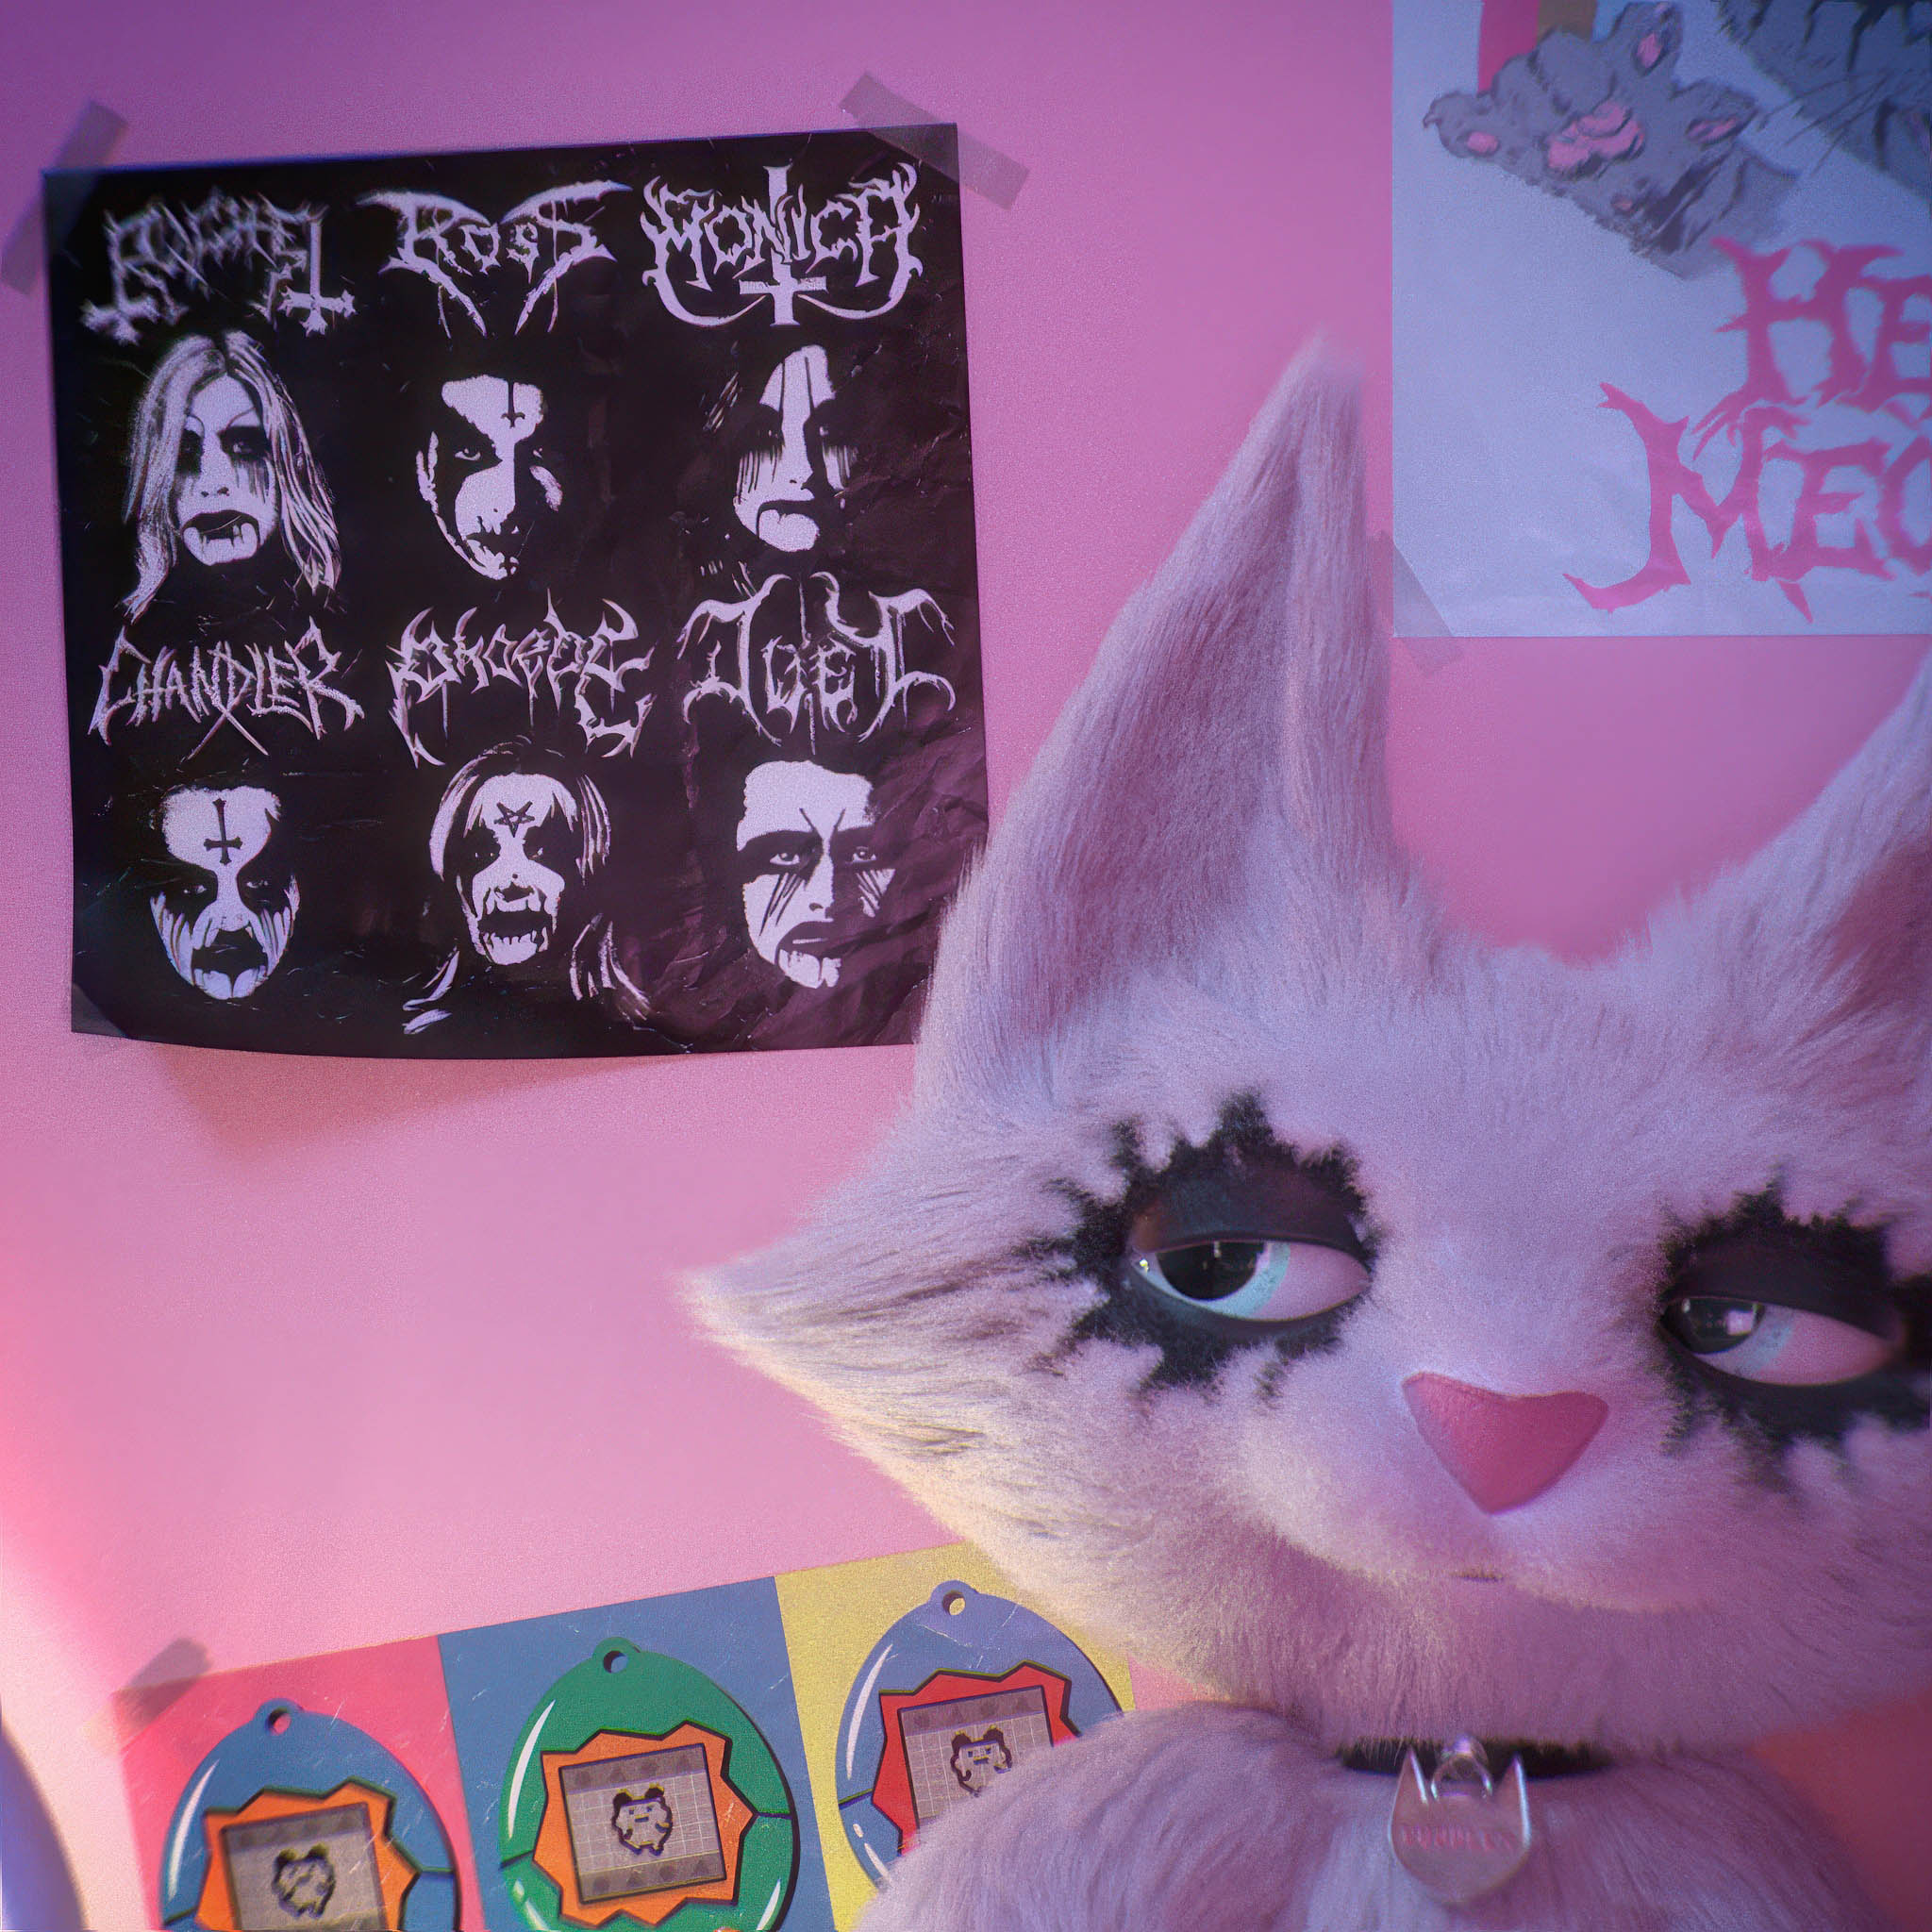
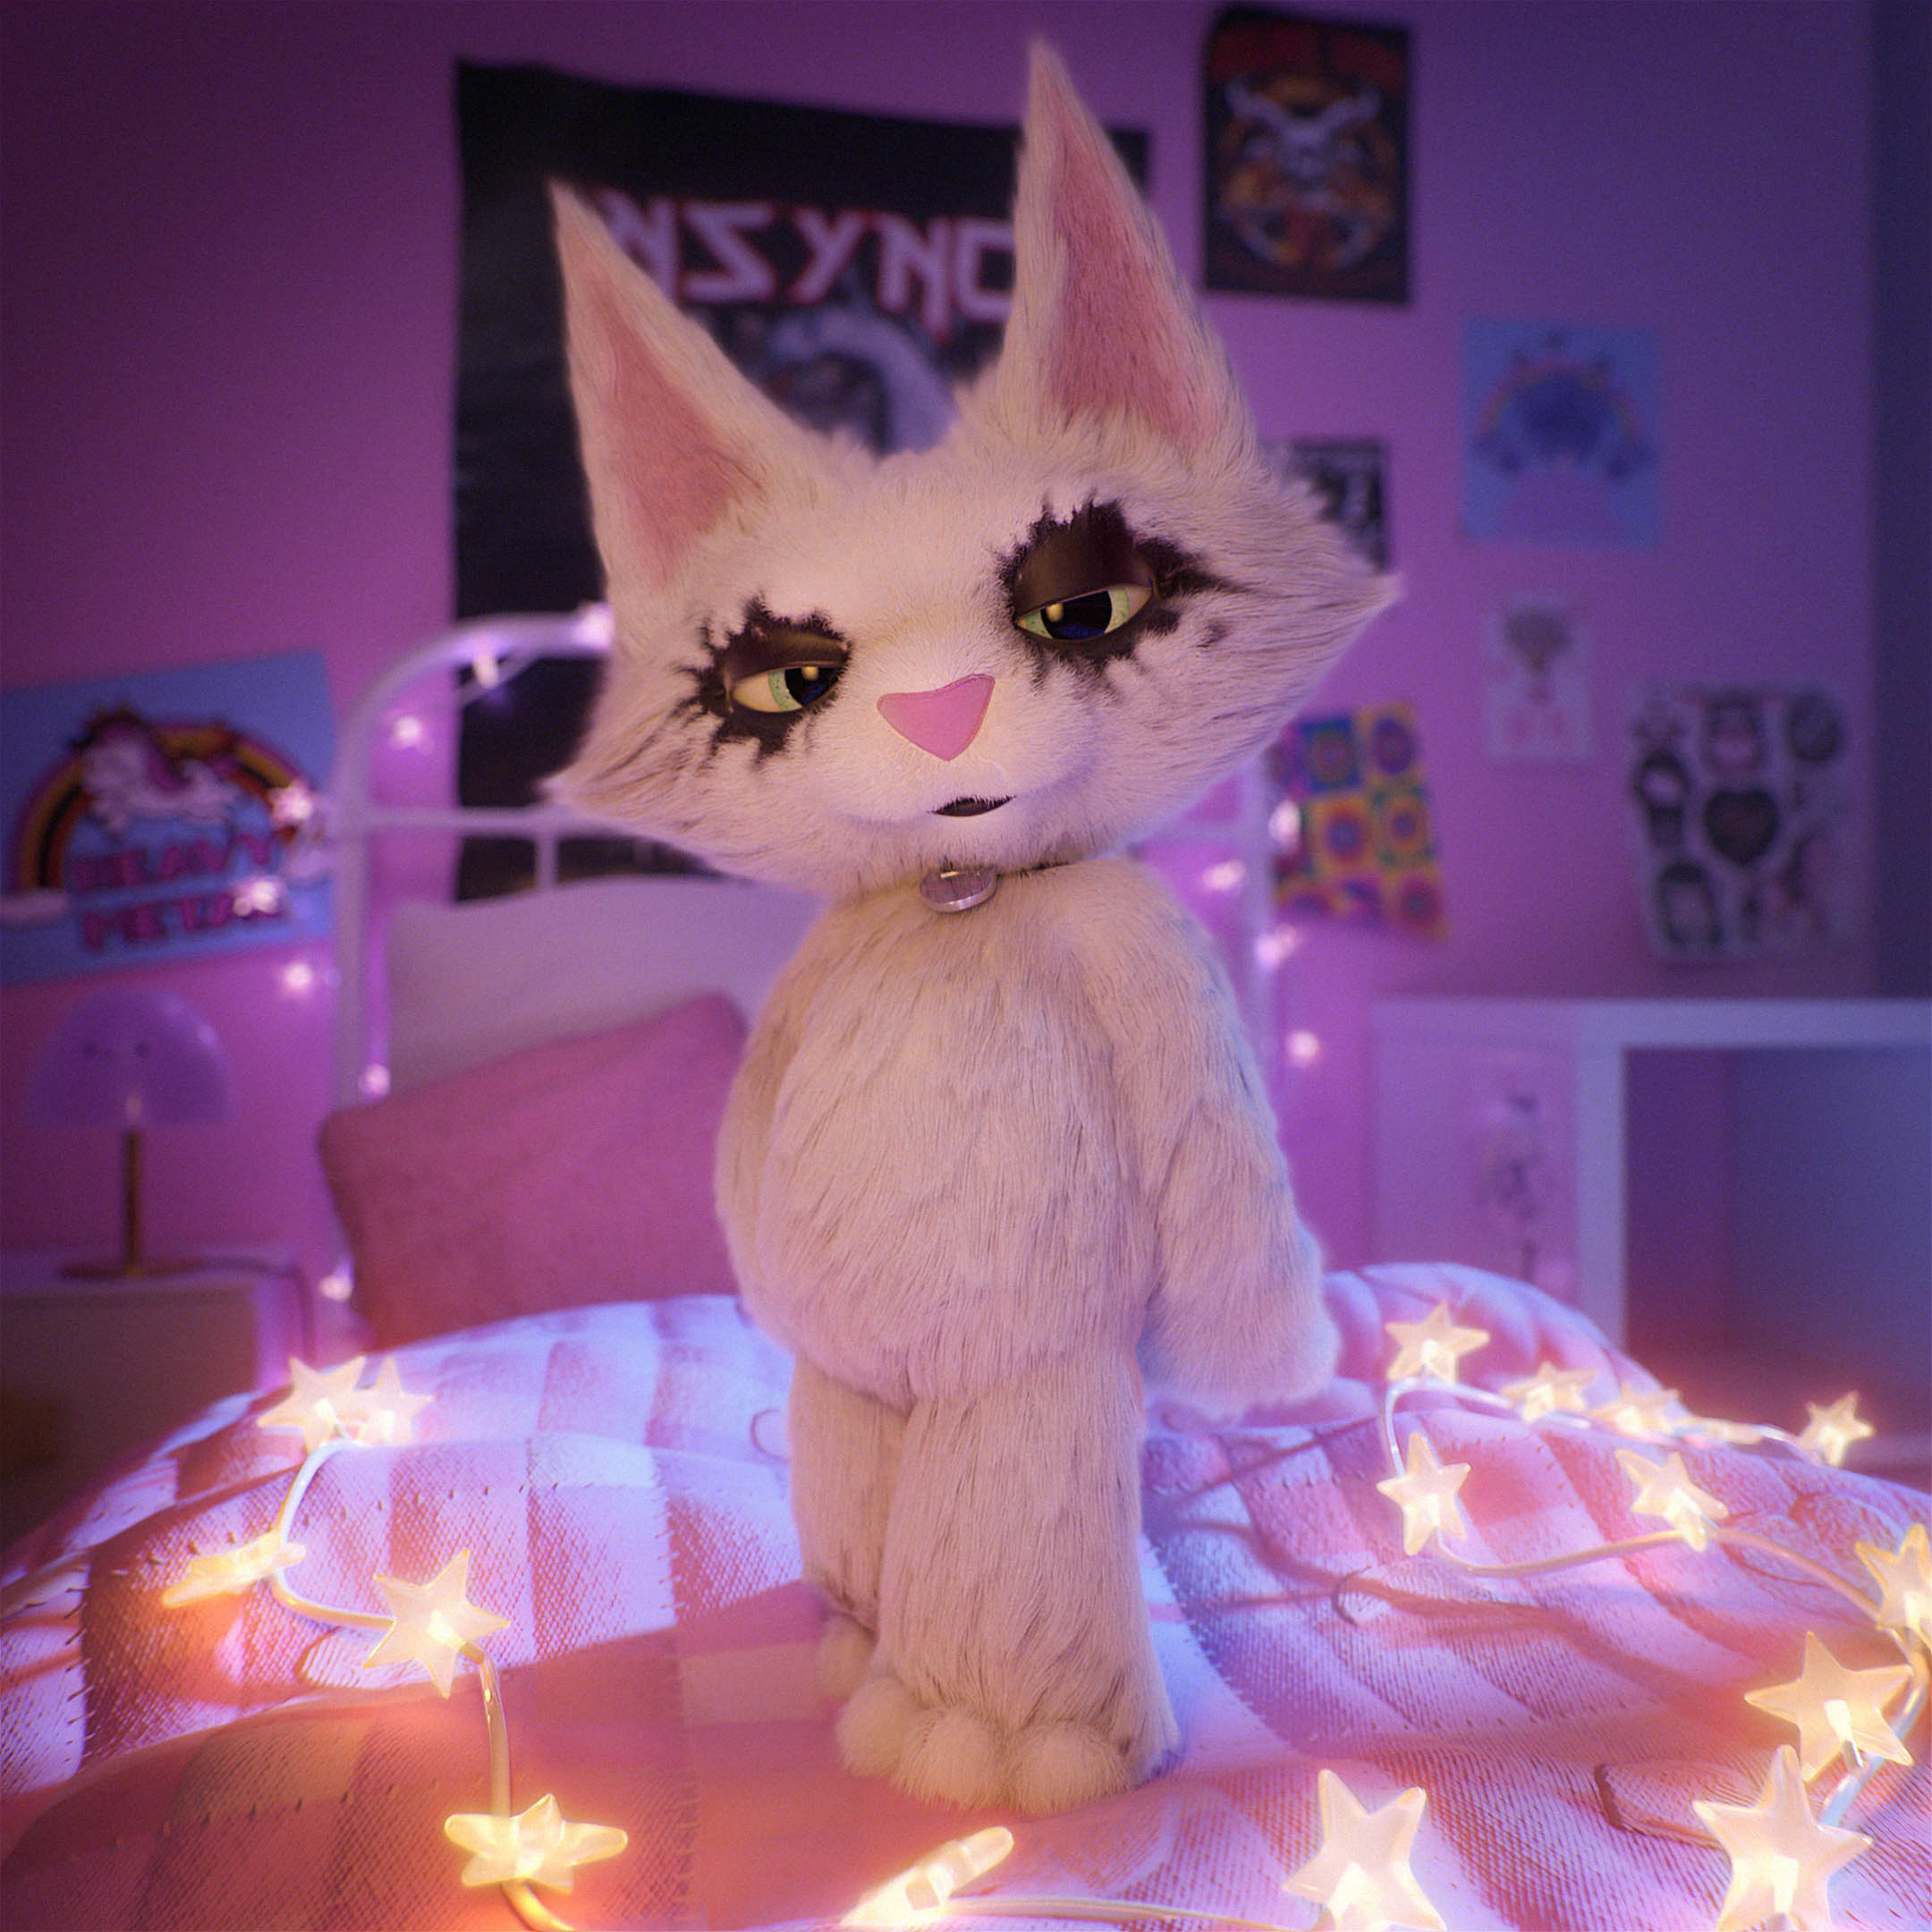
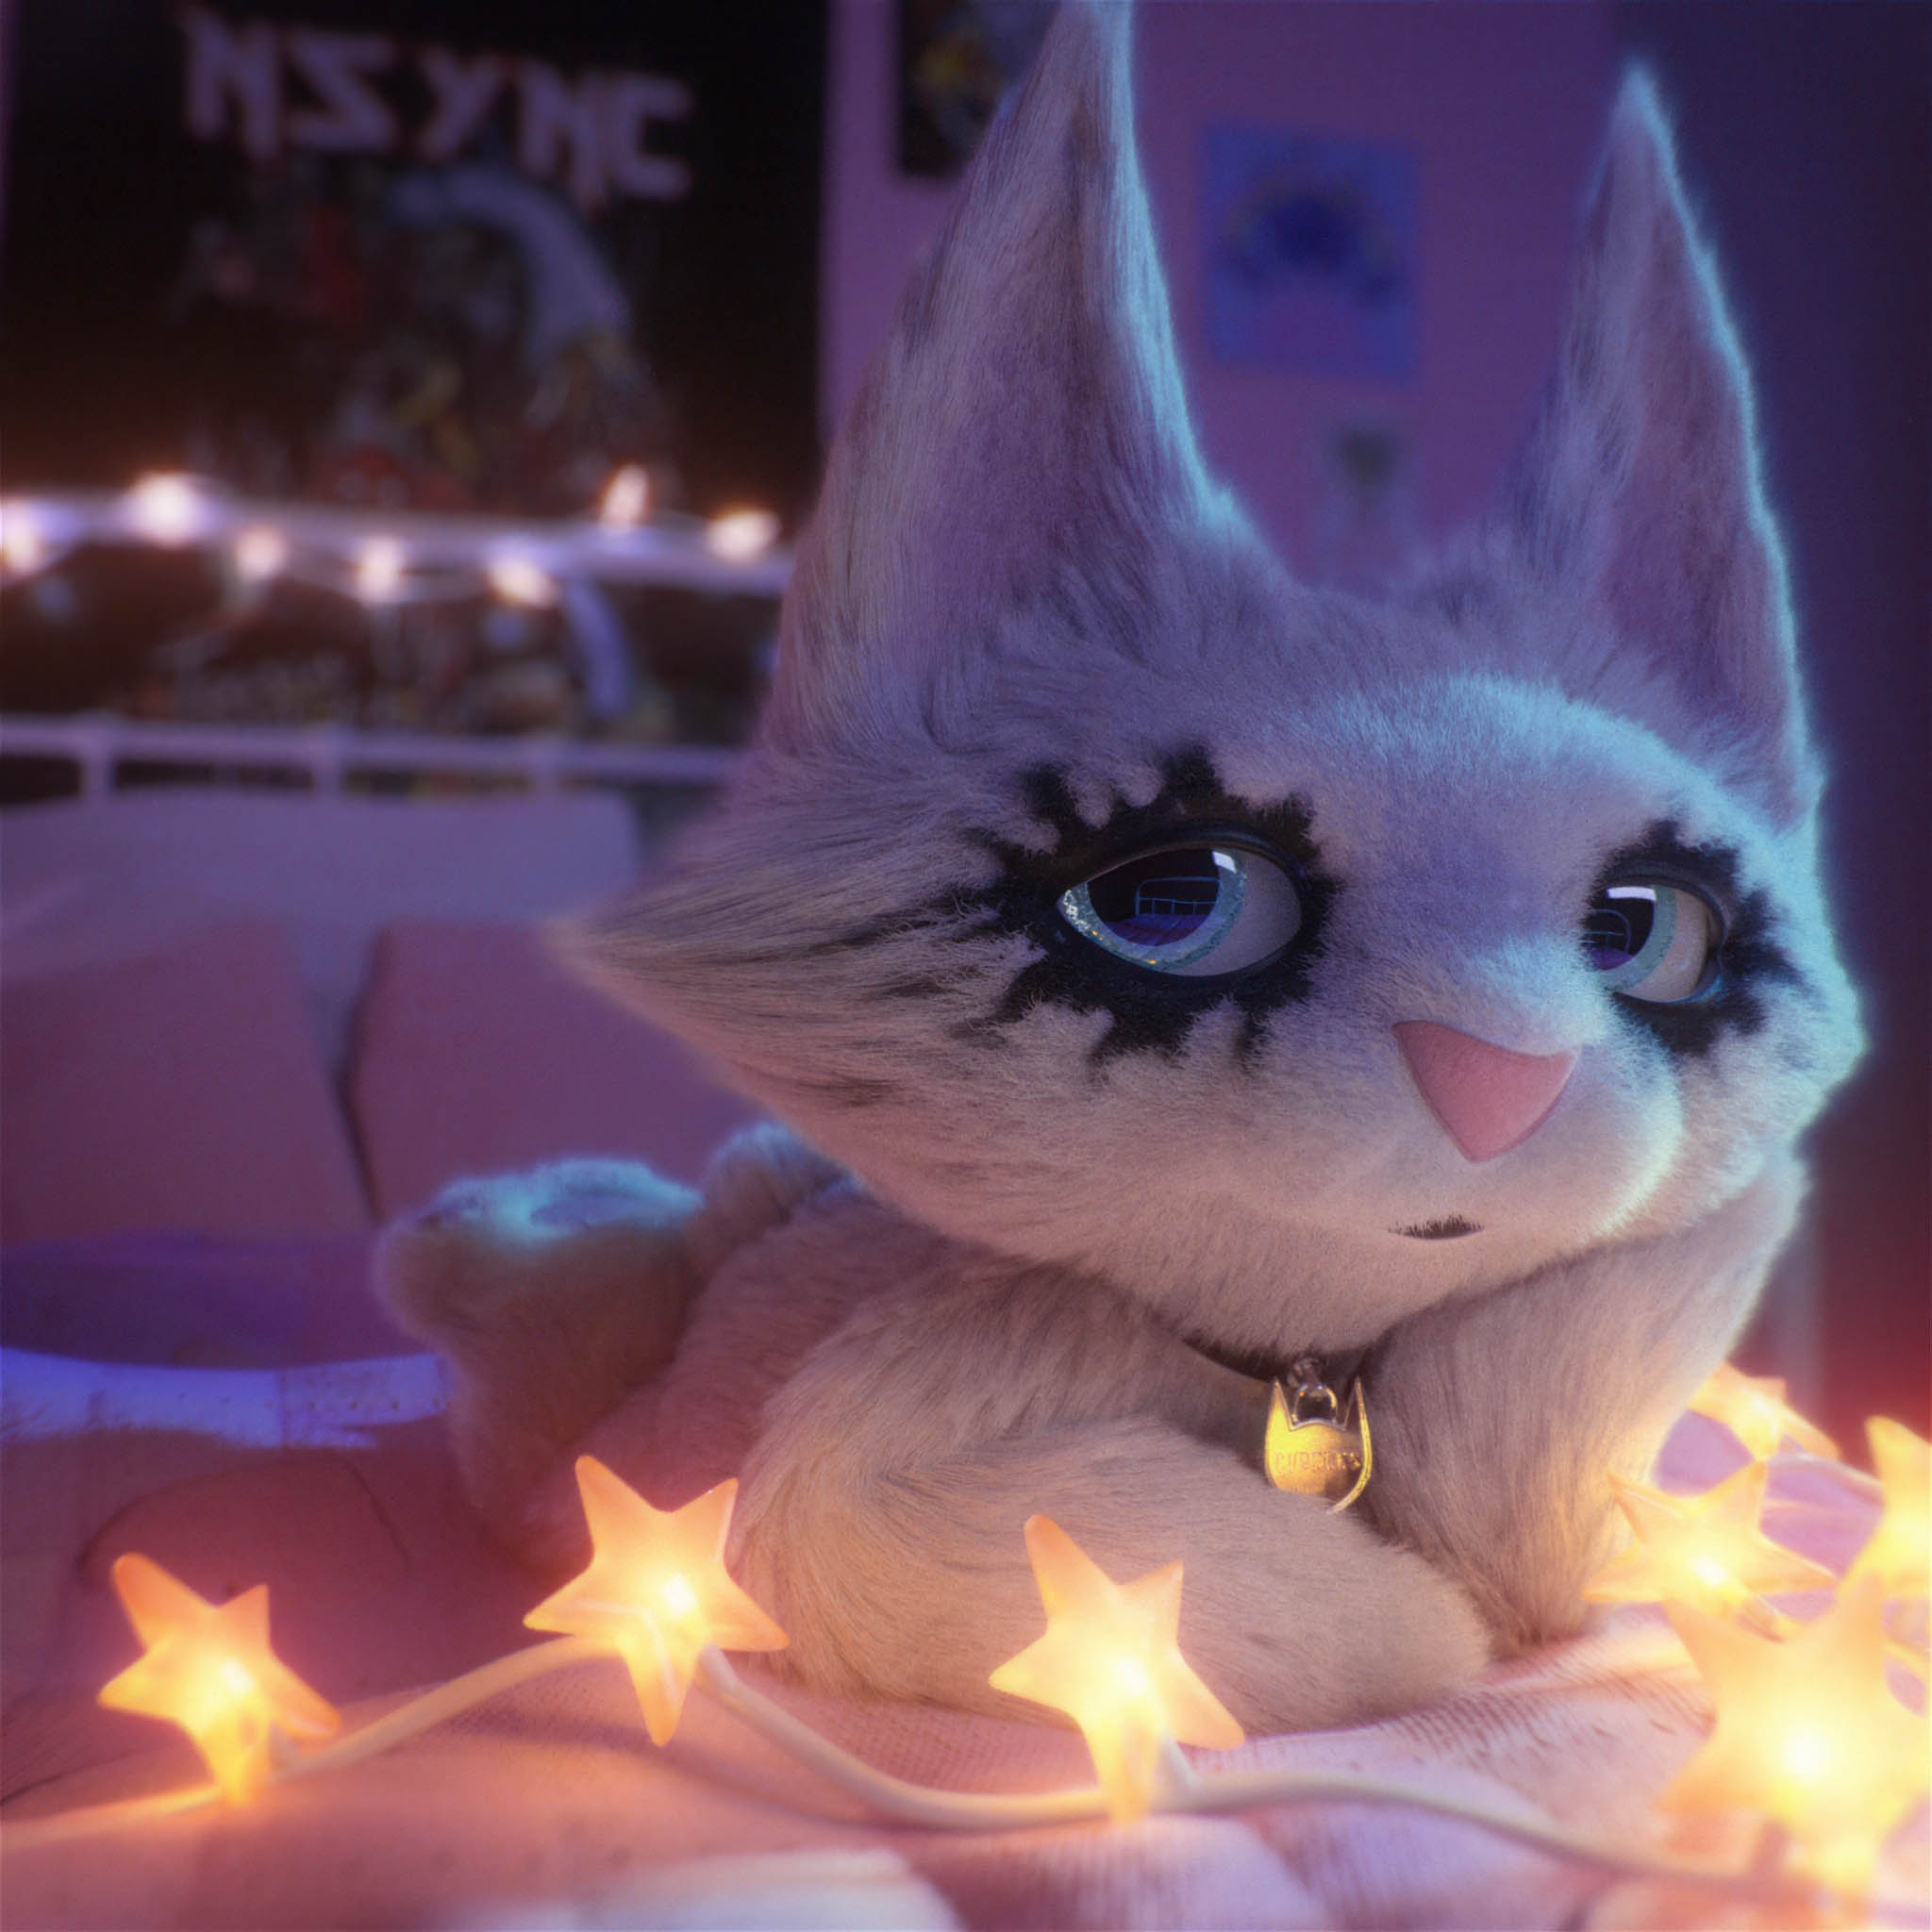
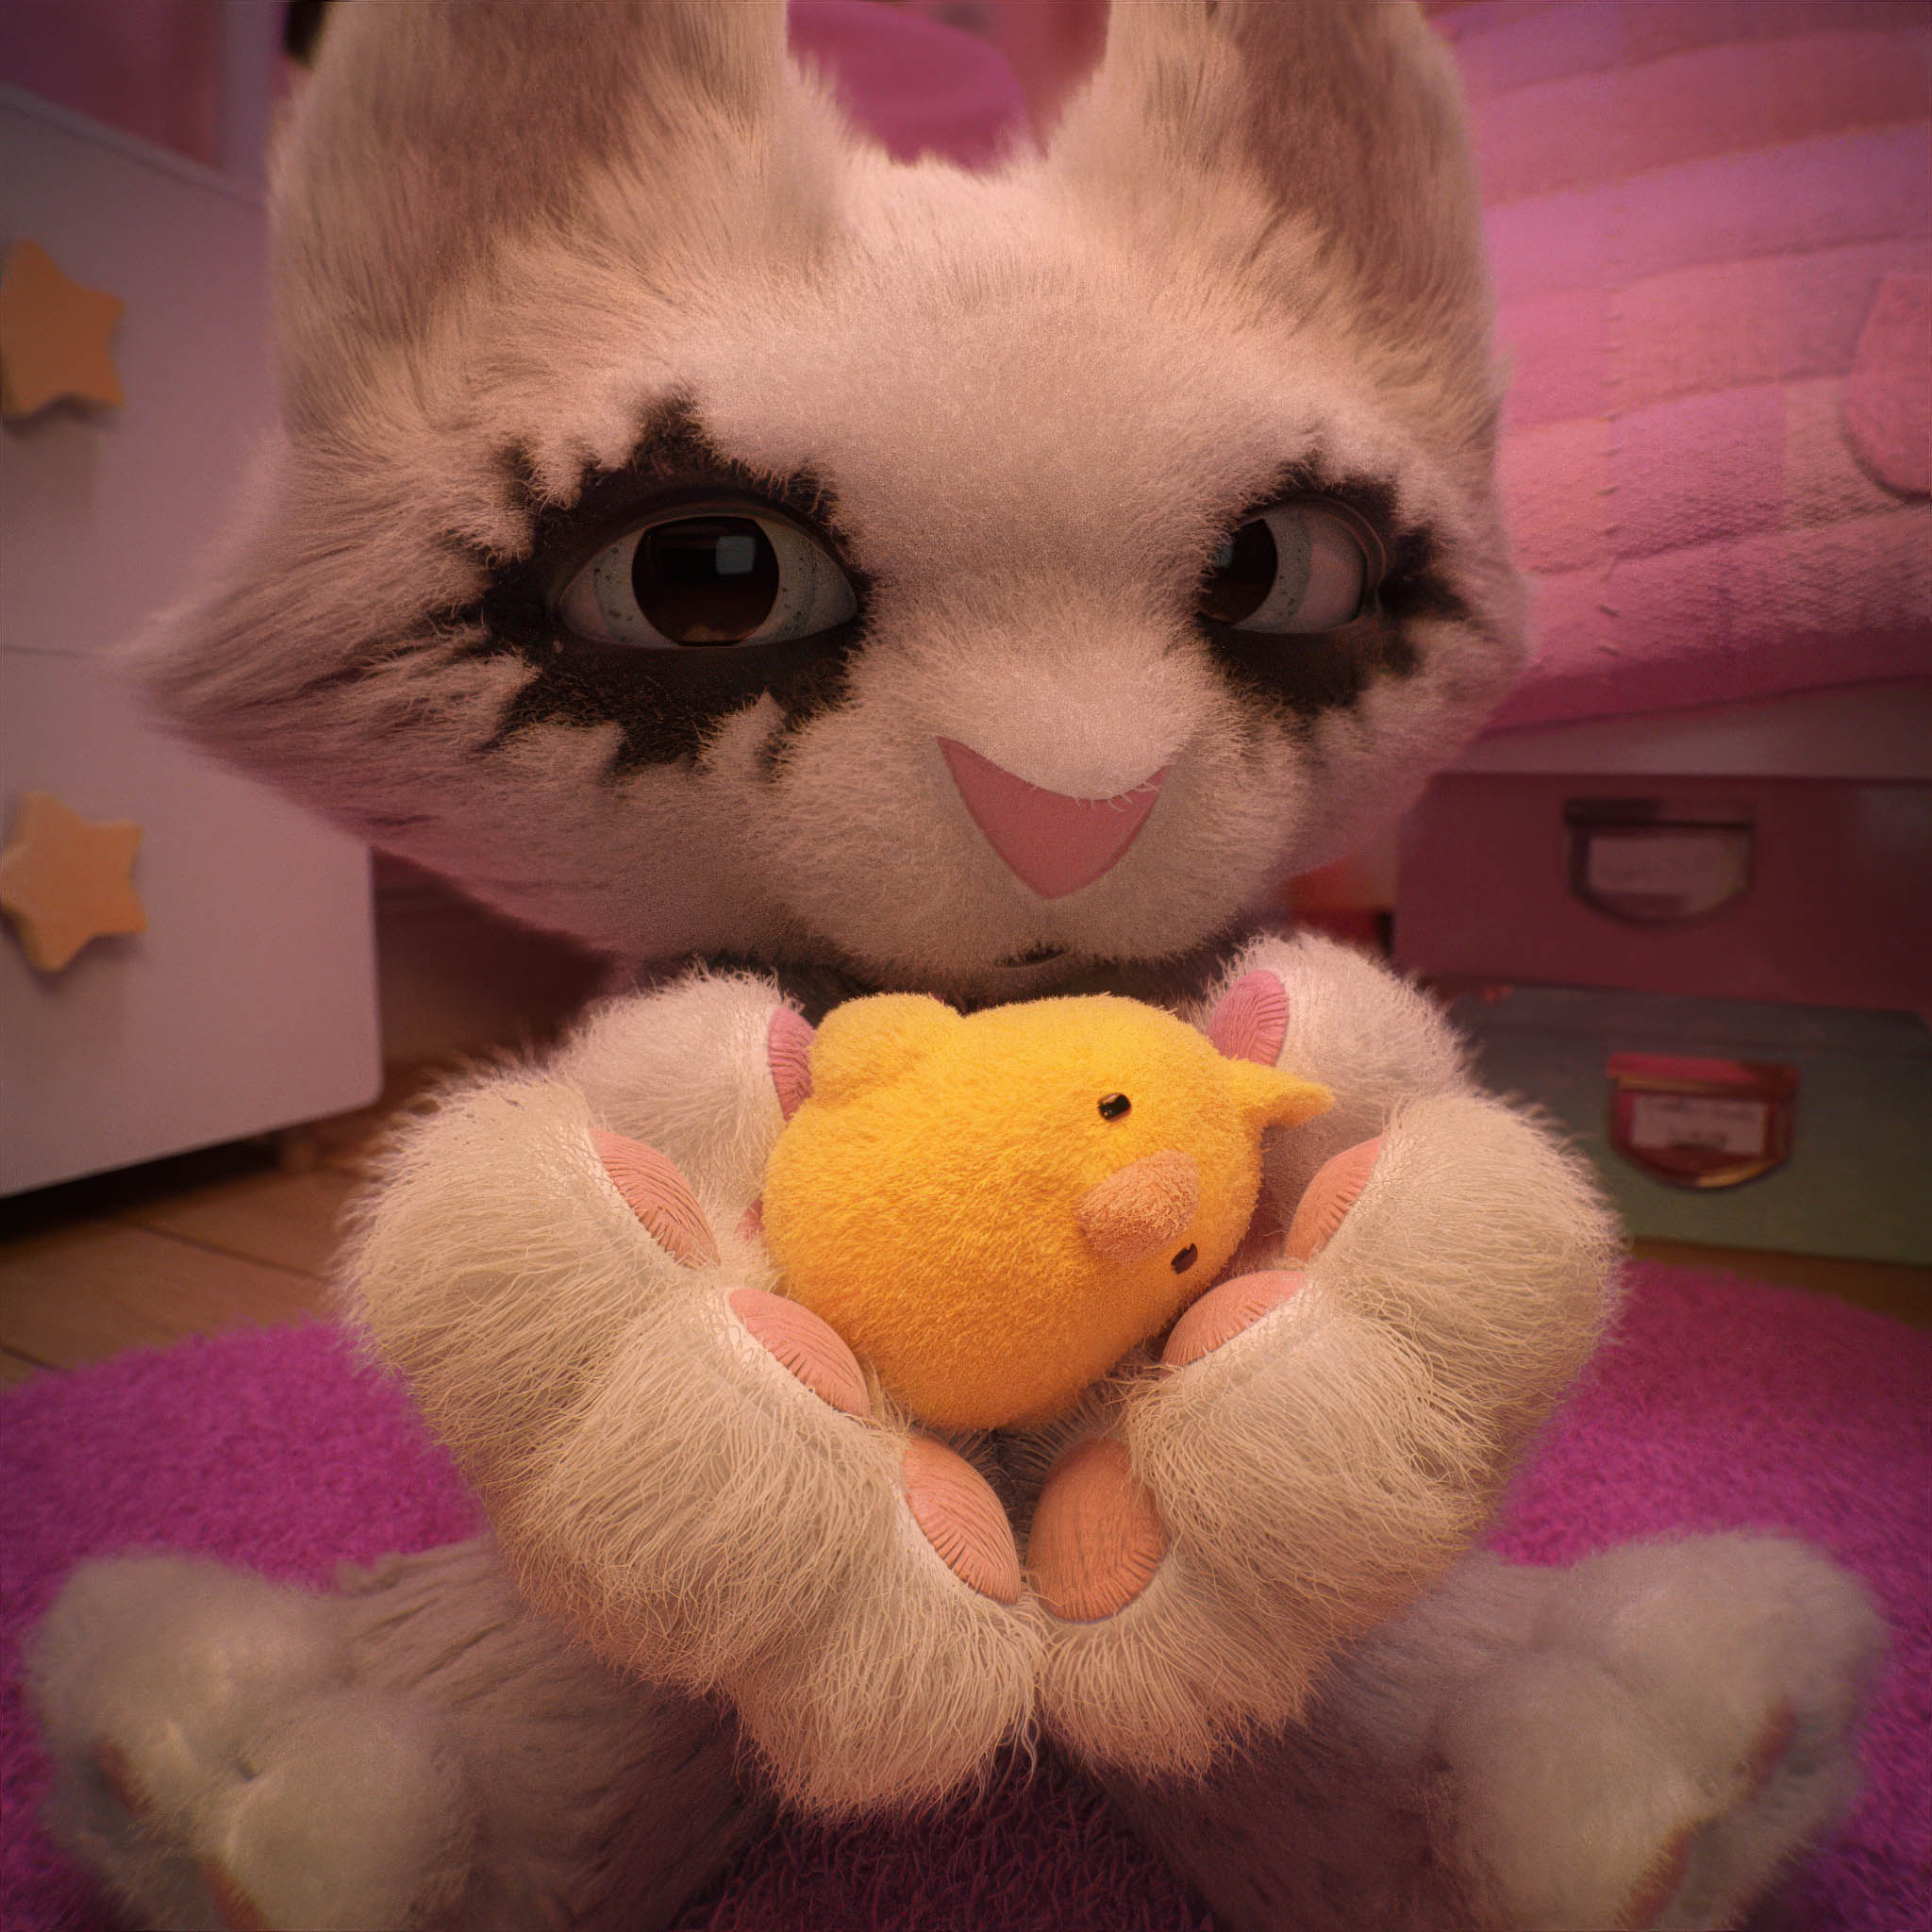
This bedroom served as the main set until the end of the first phase of the project, when everything was fully CG. It was there that I created the music video for Cuddles’ first song, “Nothing to Wear.”
Une fois le concept Personnage + animation validé, je pouvais me consacrer à 100% à la création du décor depuis lequel Cuddles fera ses différentes vidéos et photos.
Ici encore, tous les éléments ont été créés dans 3ds Max avec les outils de base et GrowFX pour aider à la fabrication des guirlandes.
Substance Designer a été d’une aide précieuse pour la génération procédurale de toutes les textures du projet.
Cette chambre à servi de décor principal jusqu’à la fin de la première phase du projet, où tout était full CG. J’y ai réalisé le clip pour la première chanson de Cuddles “Nothing to wear”

Rendered with Arnold


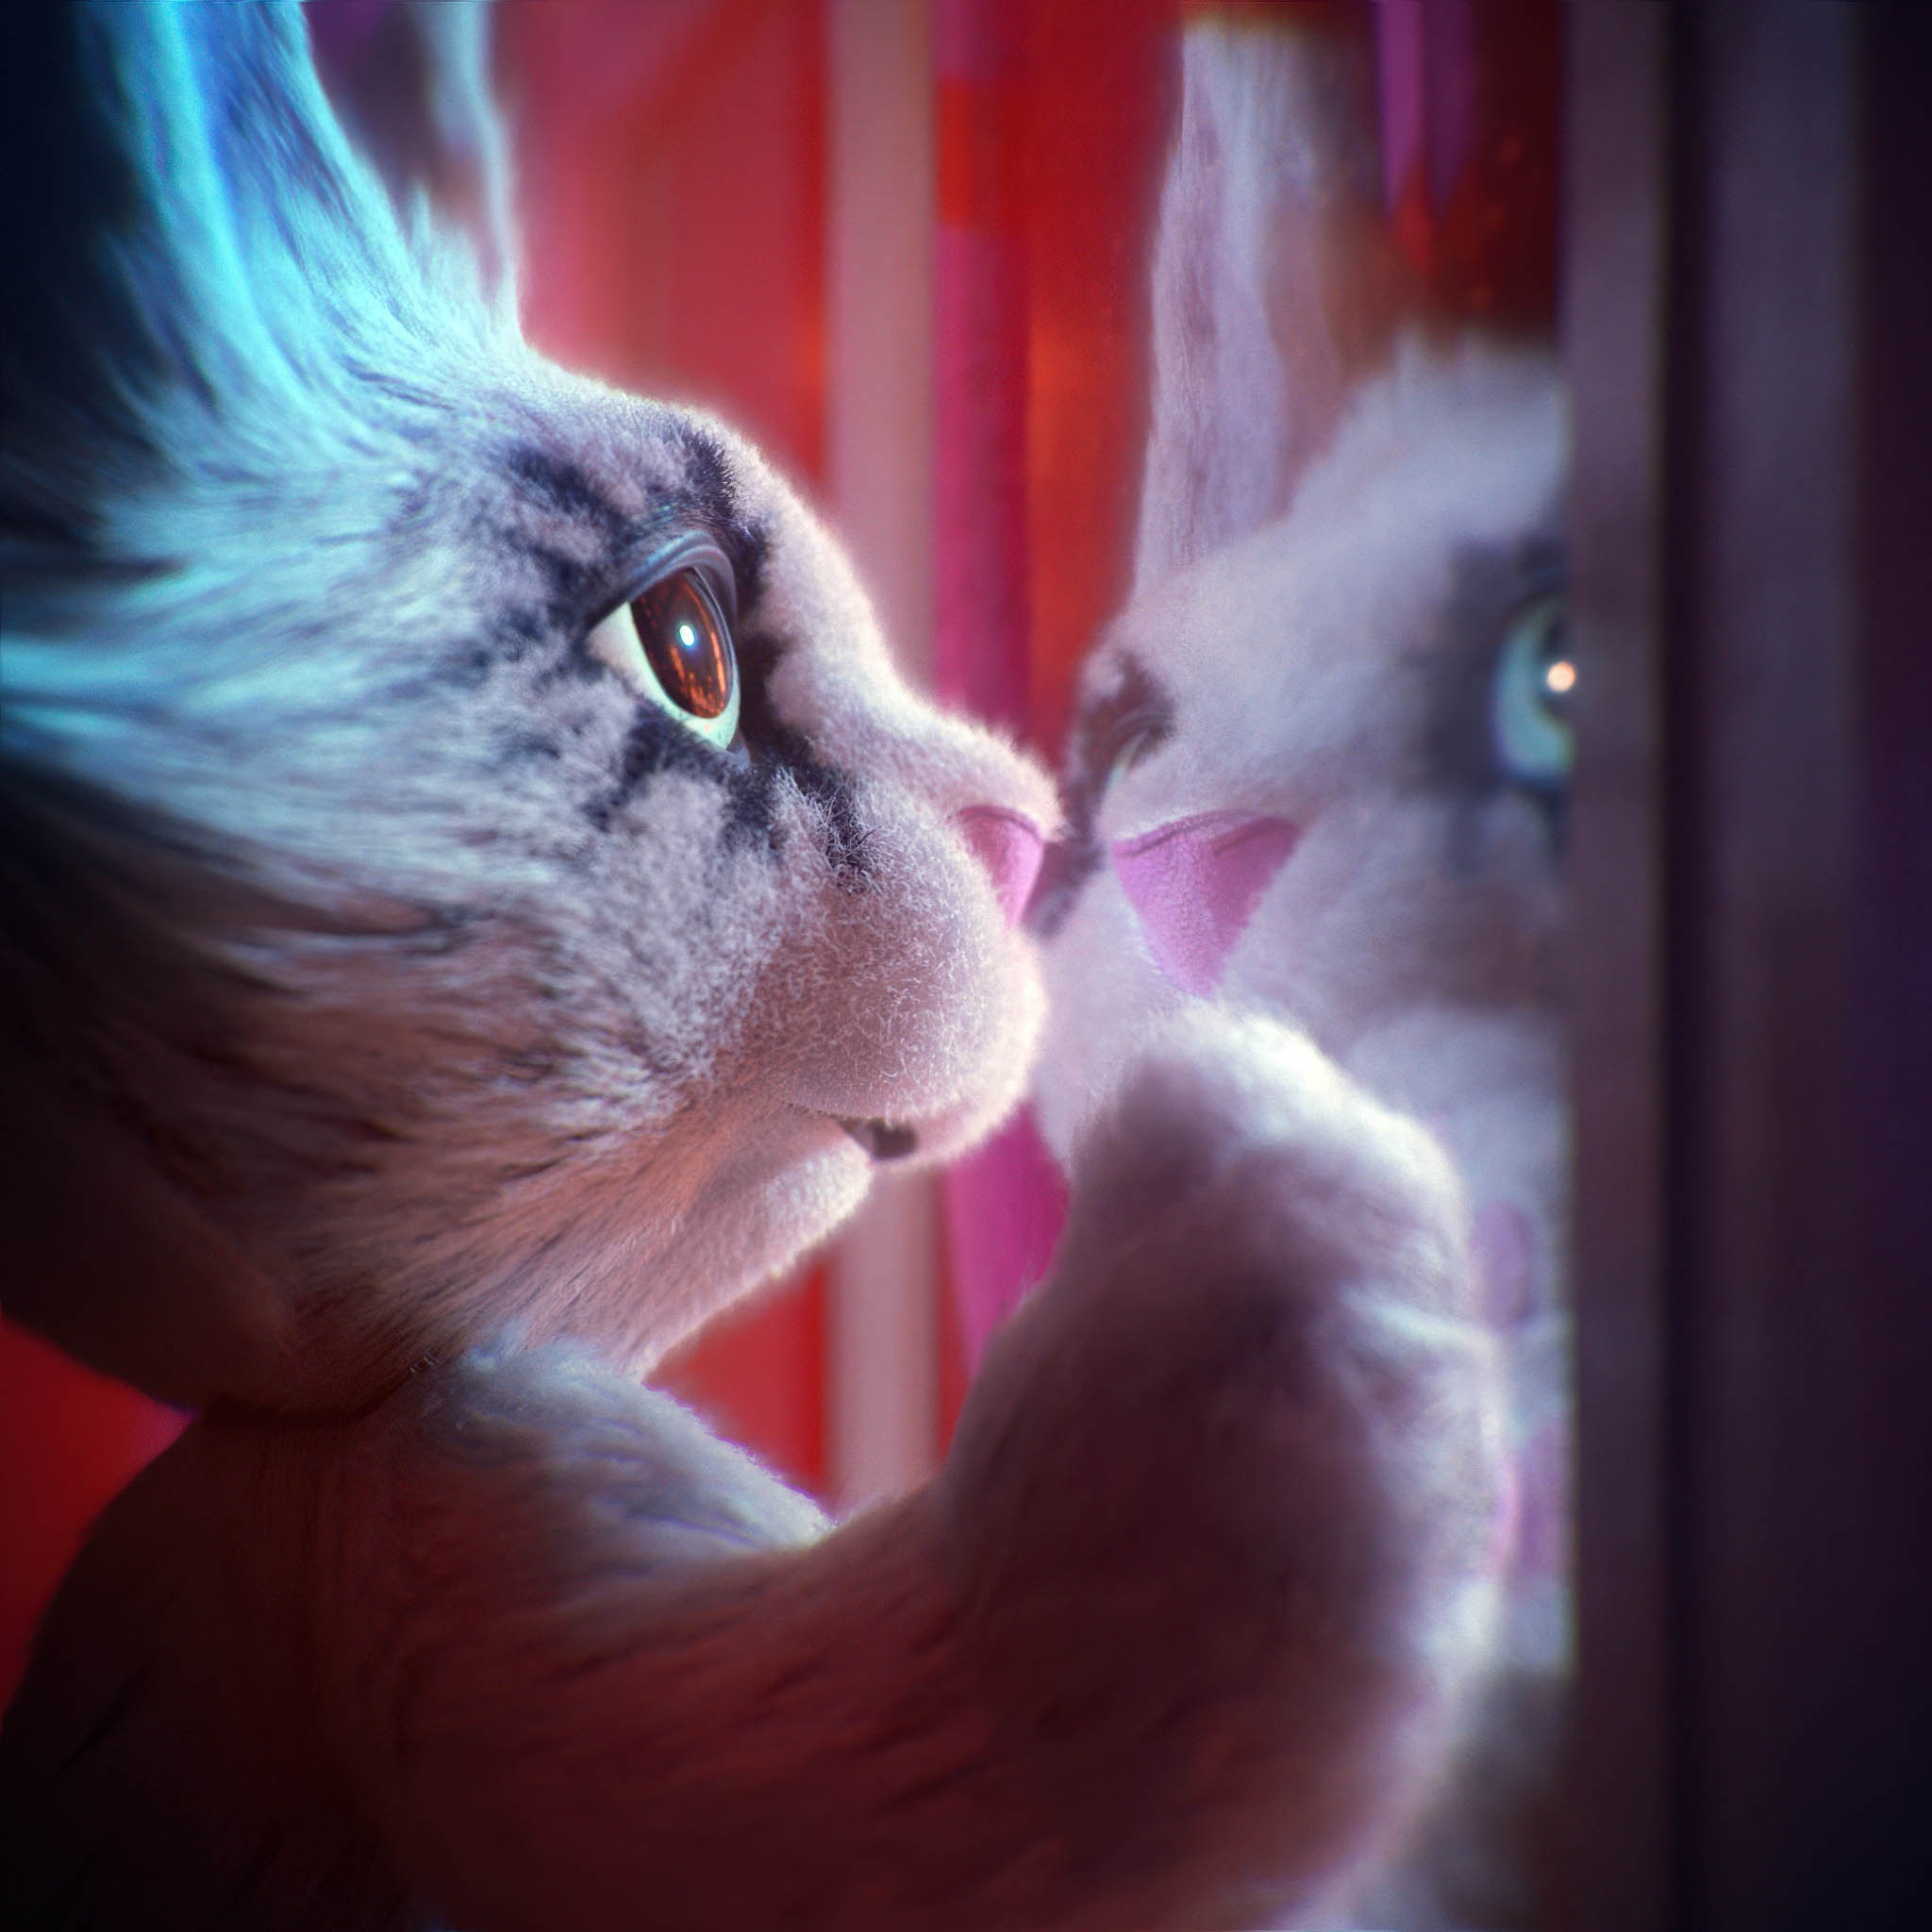
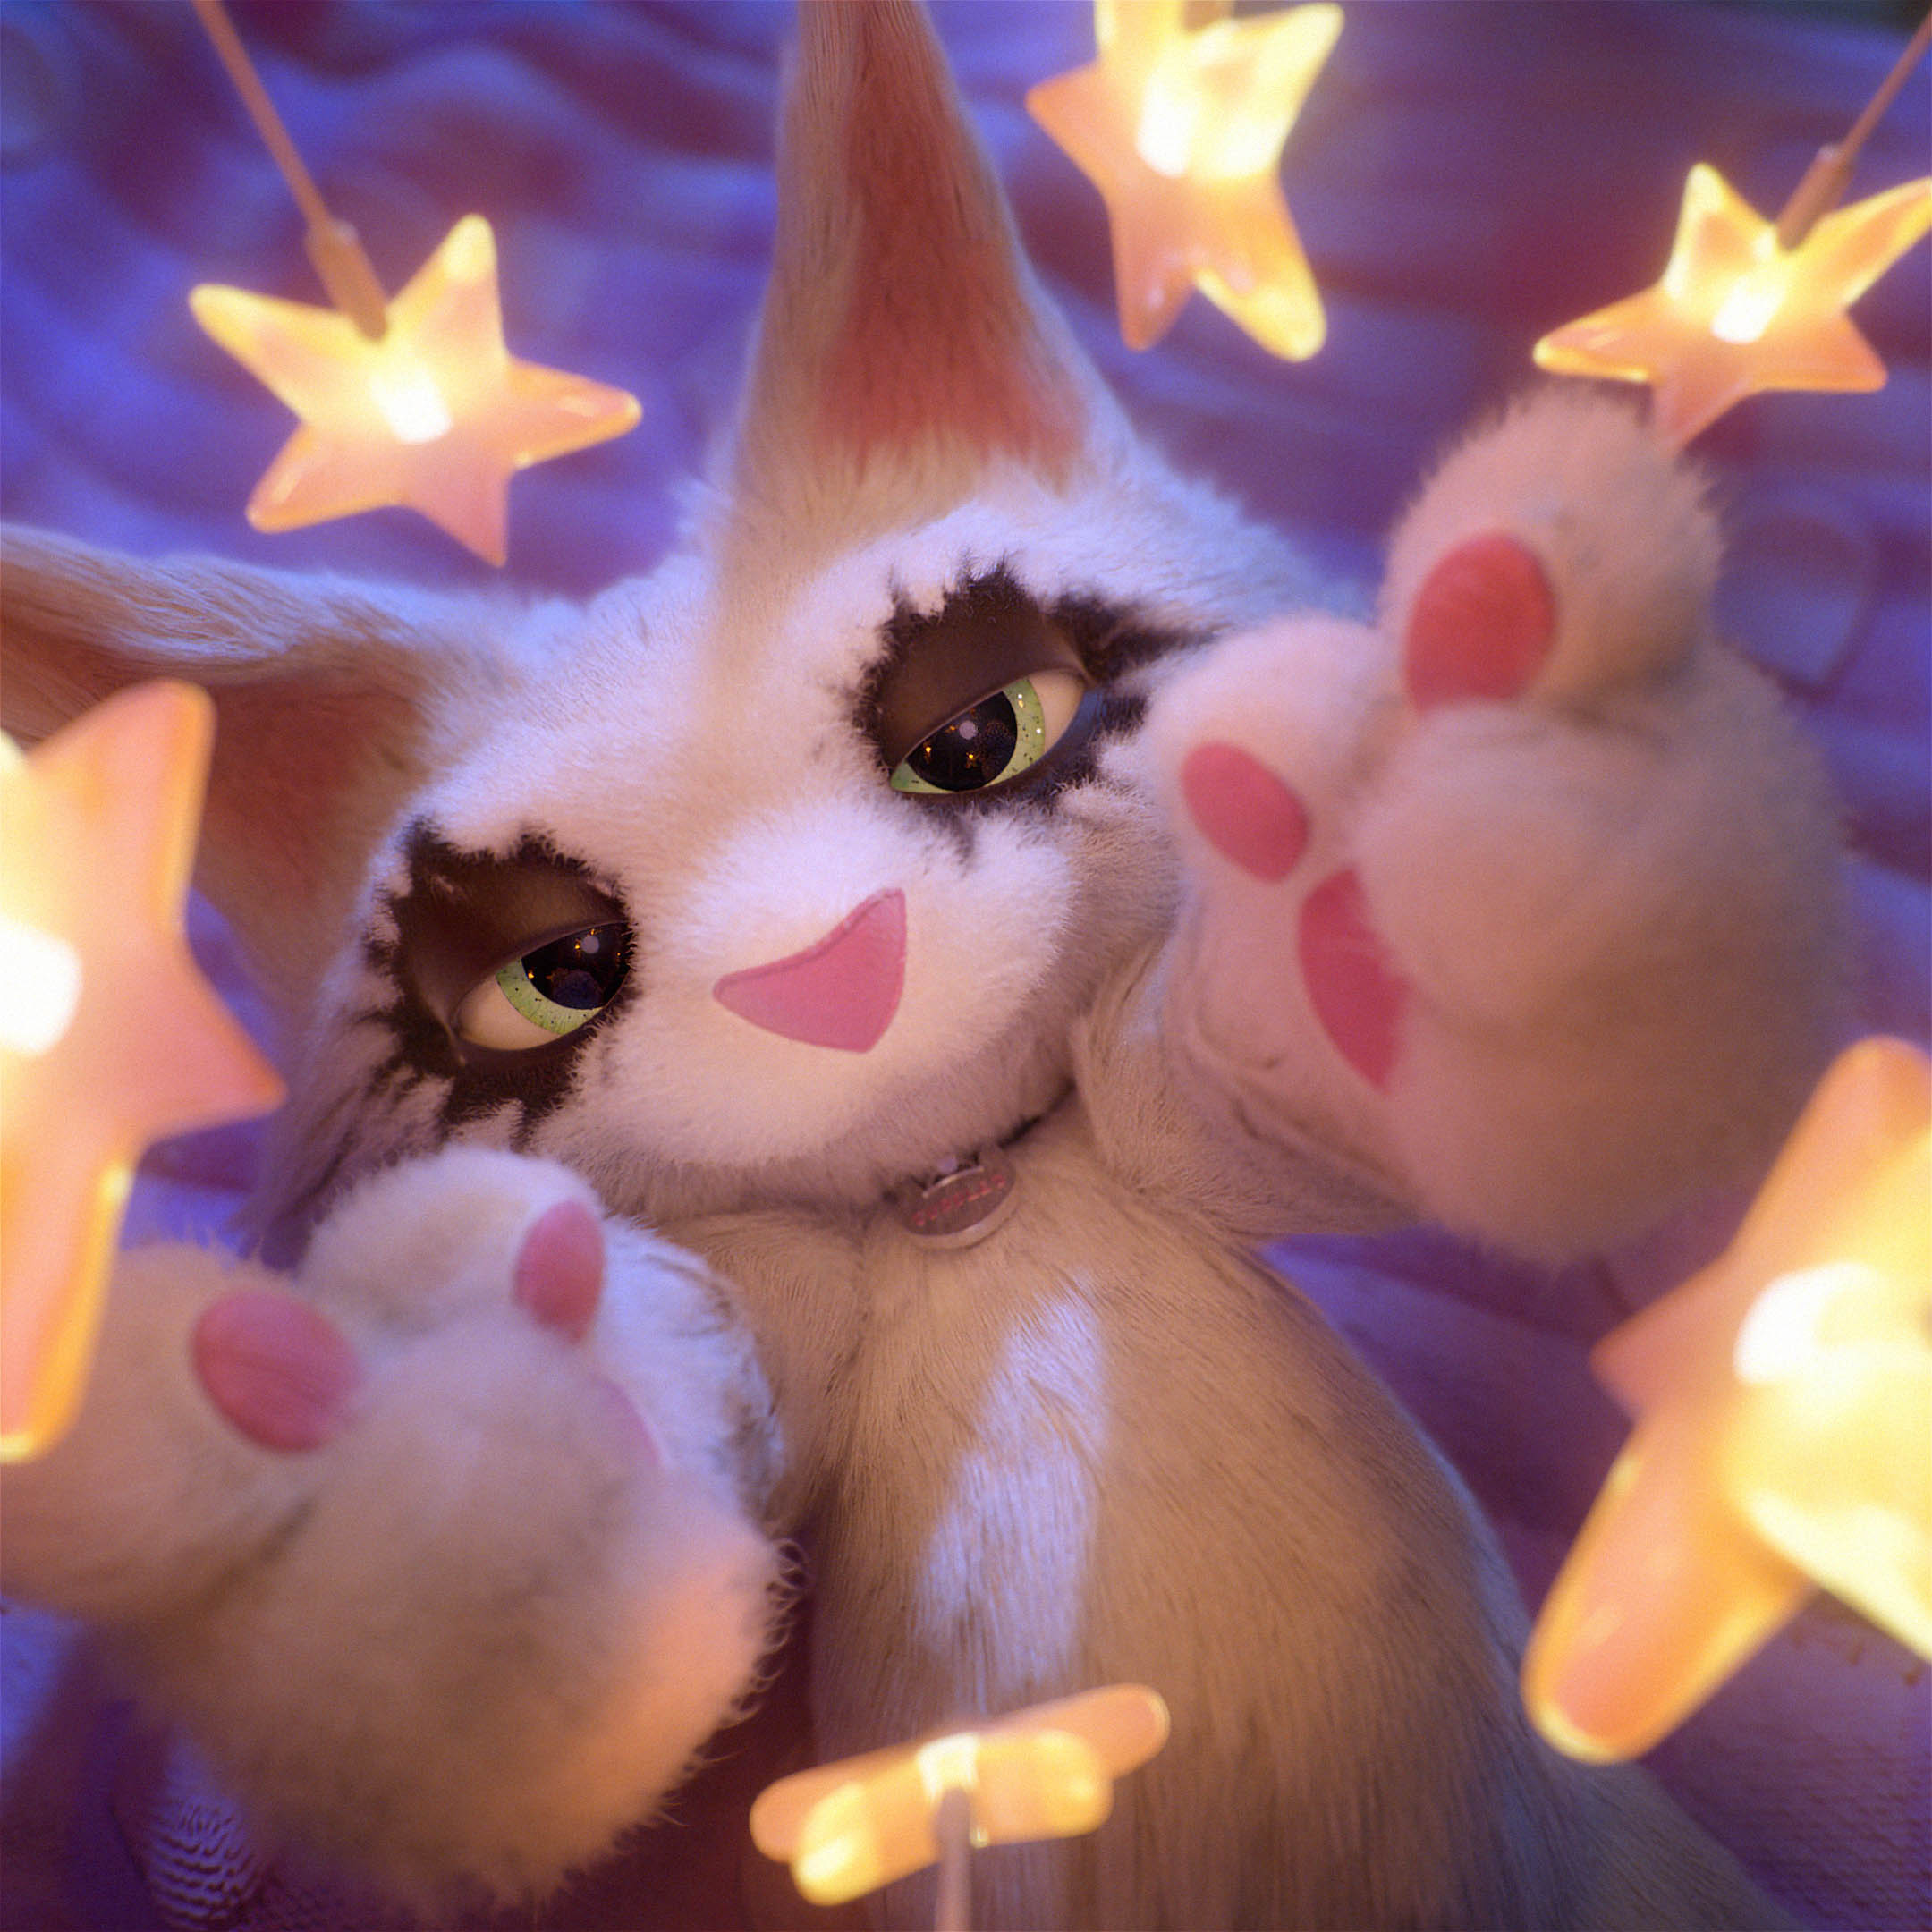
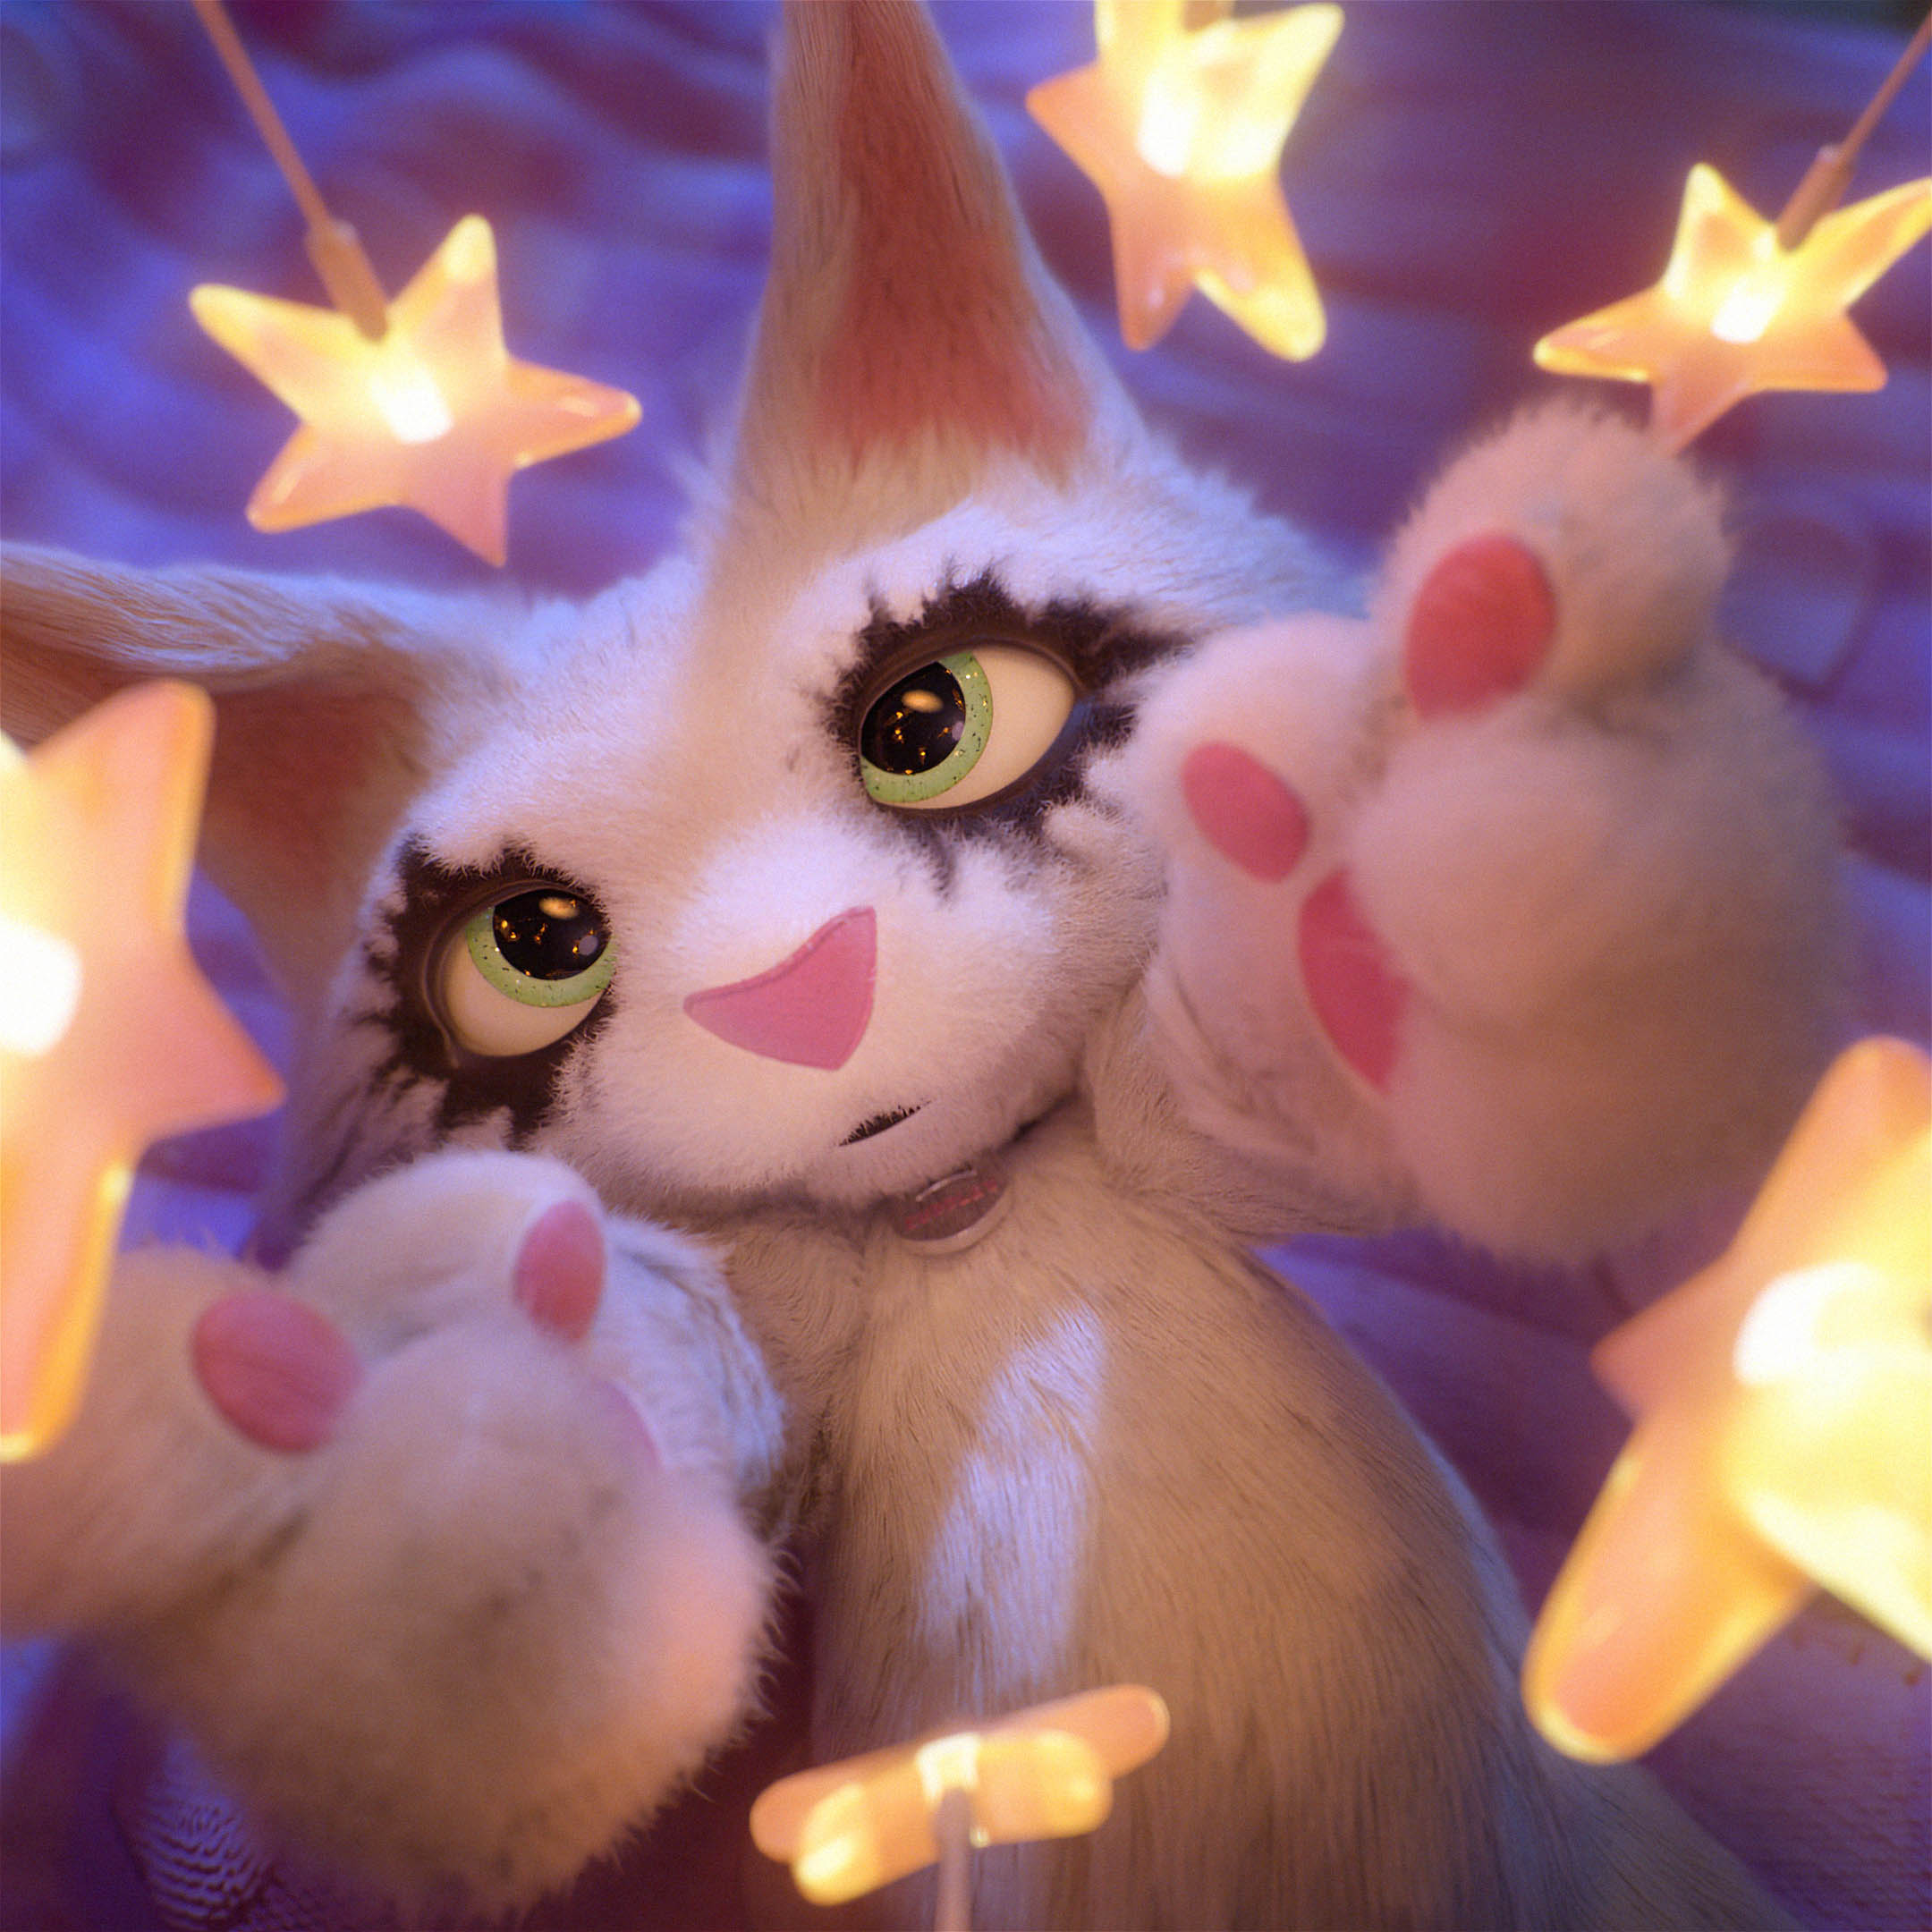
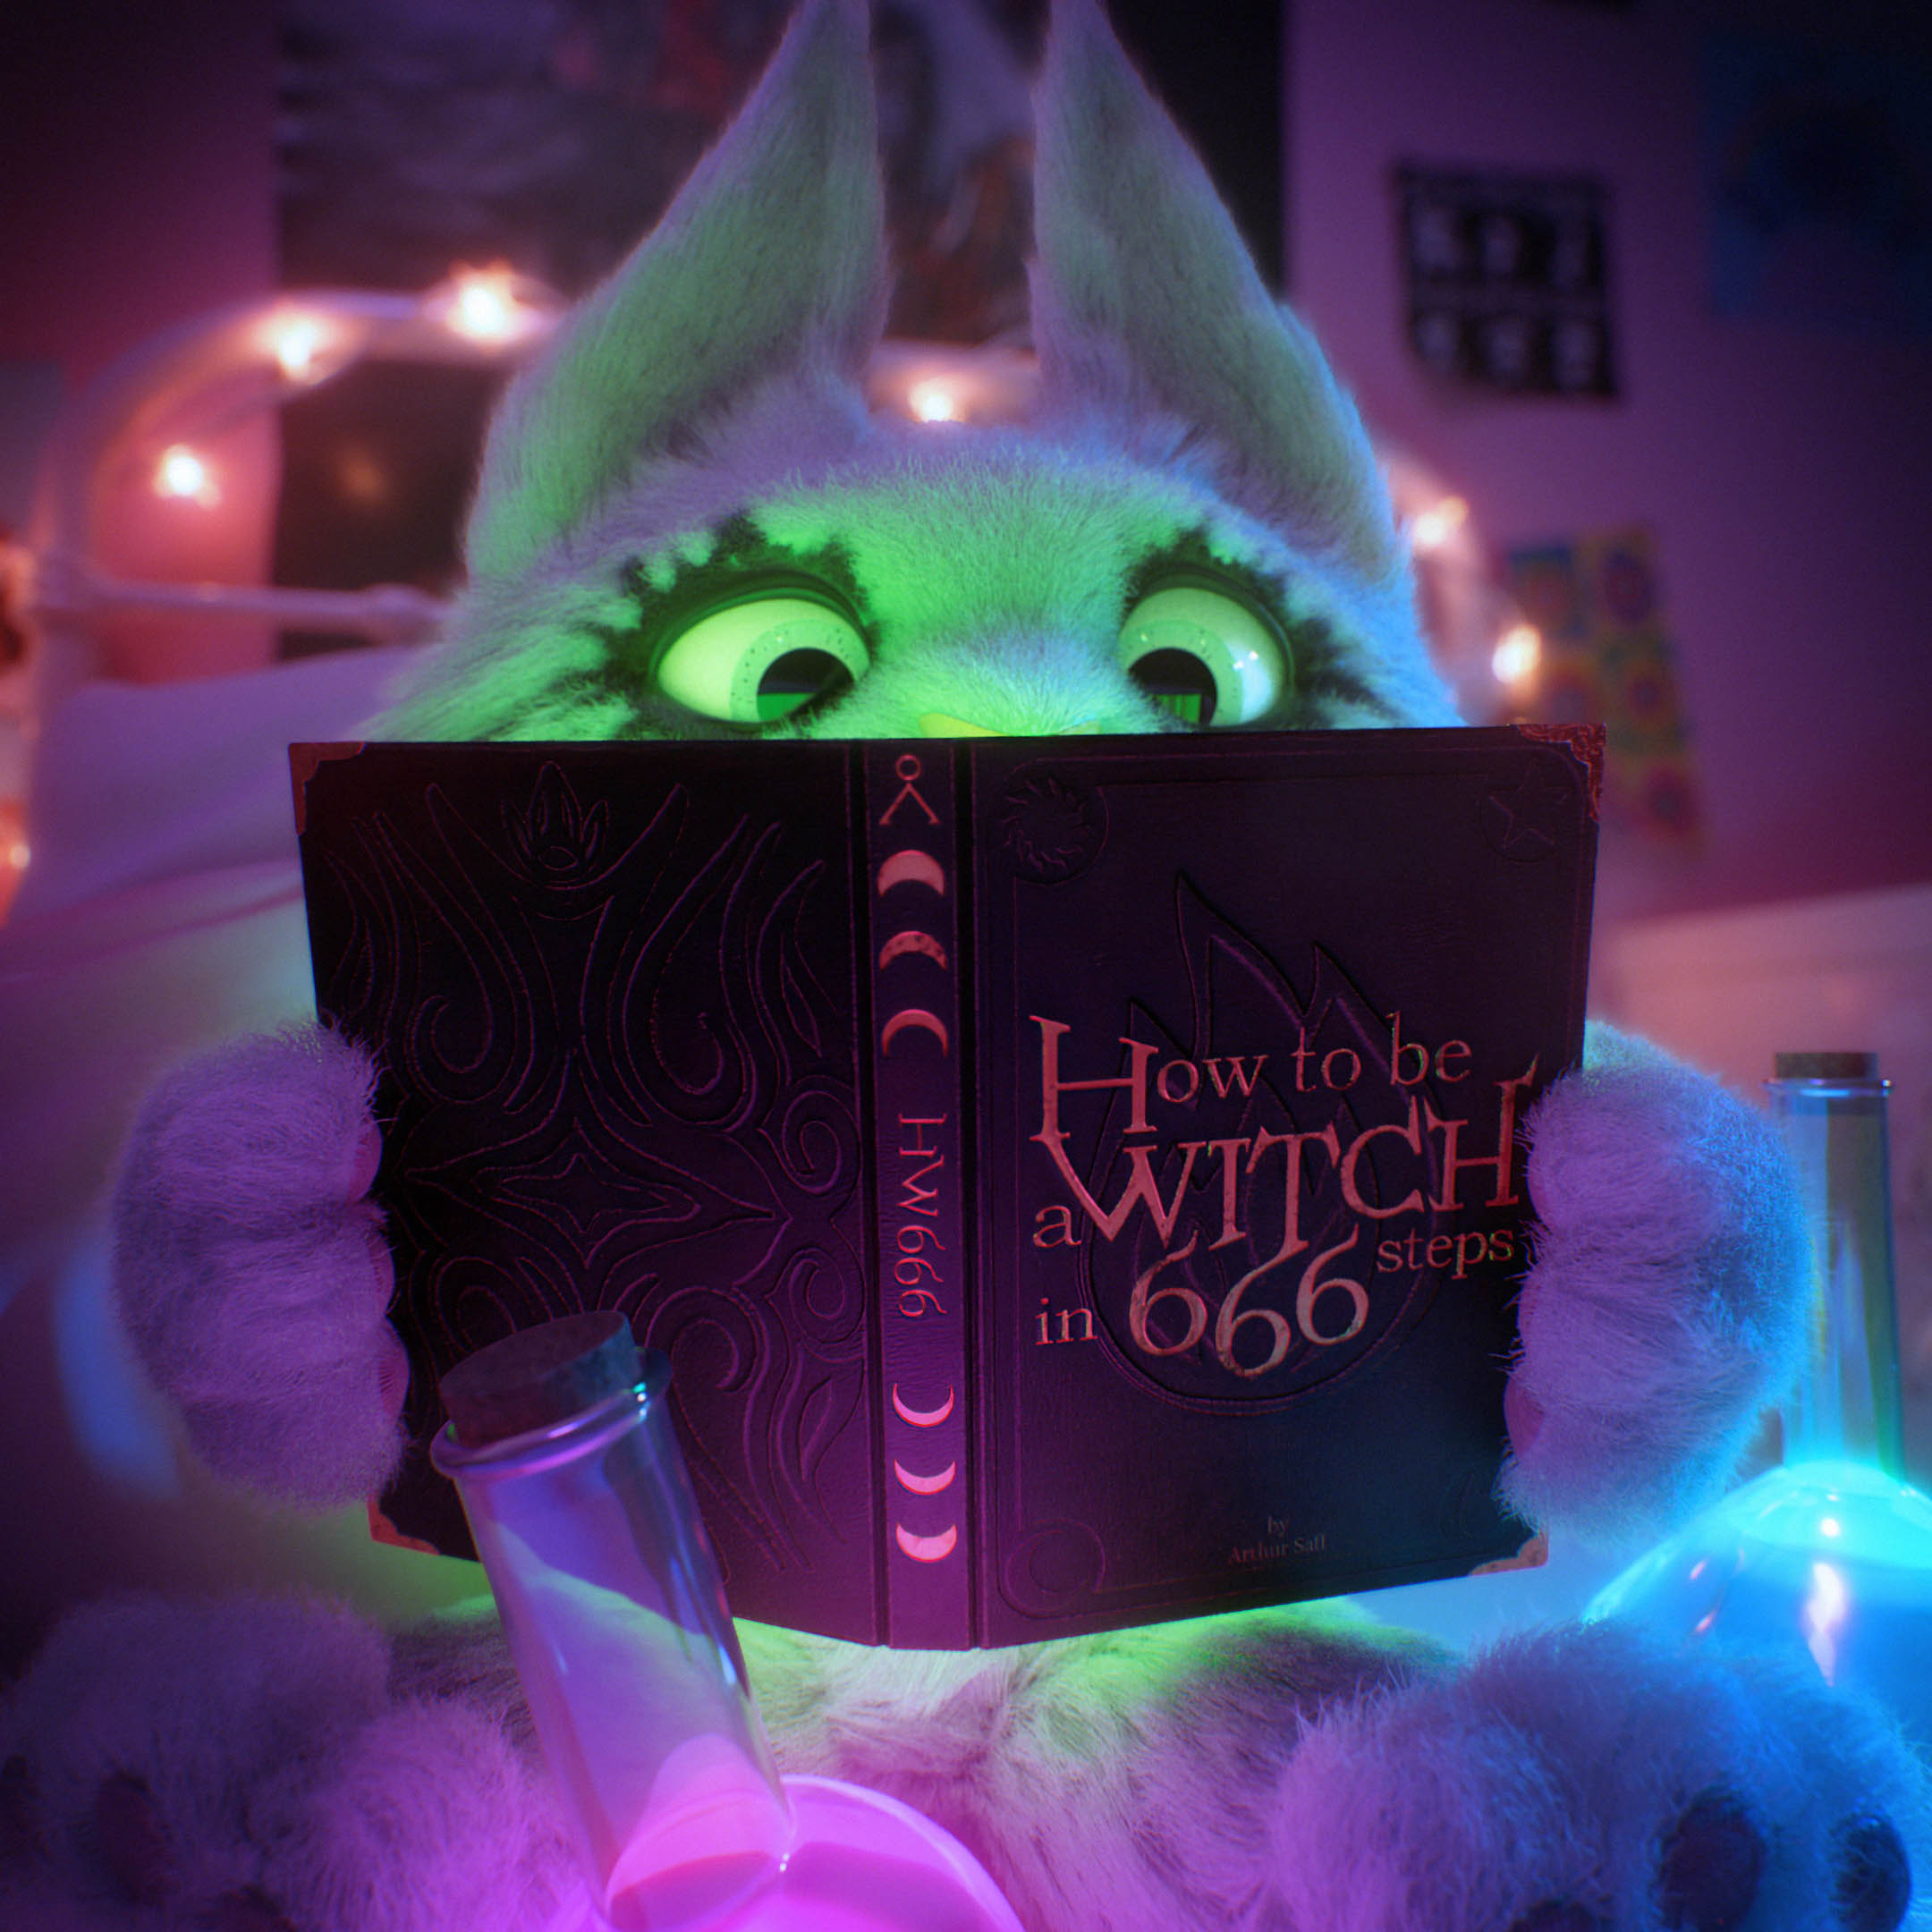
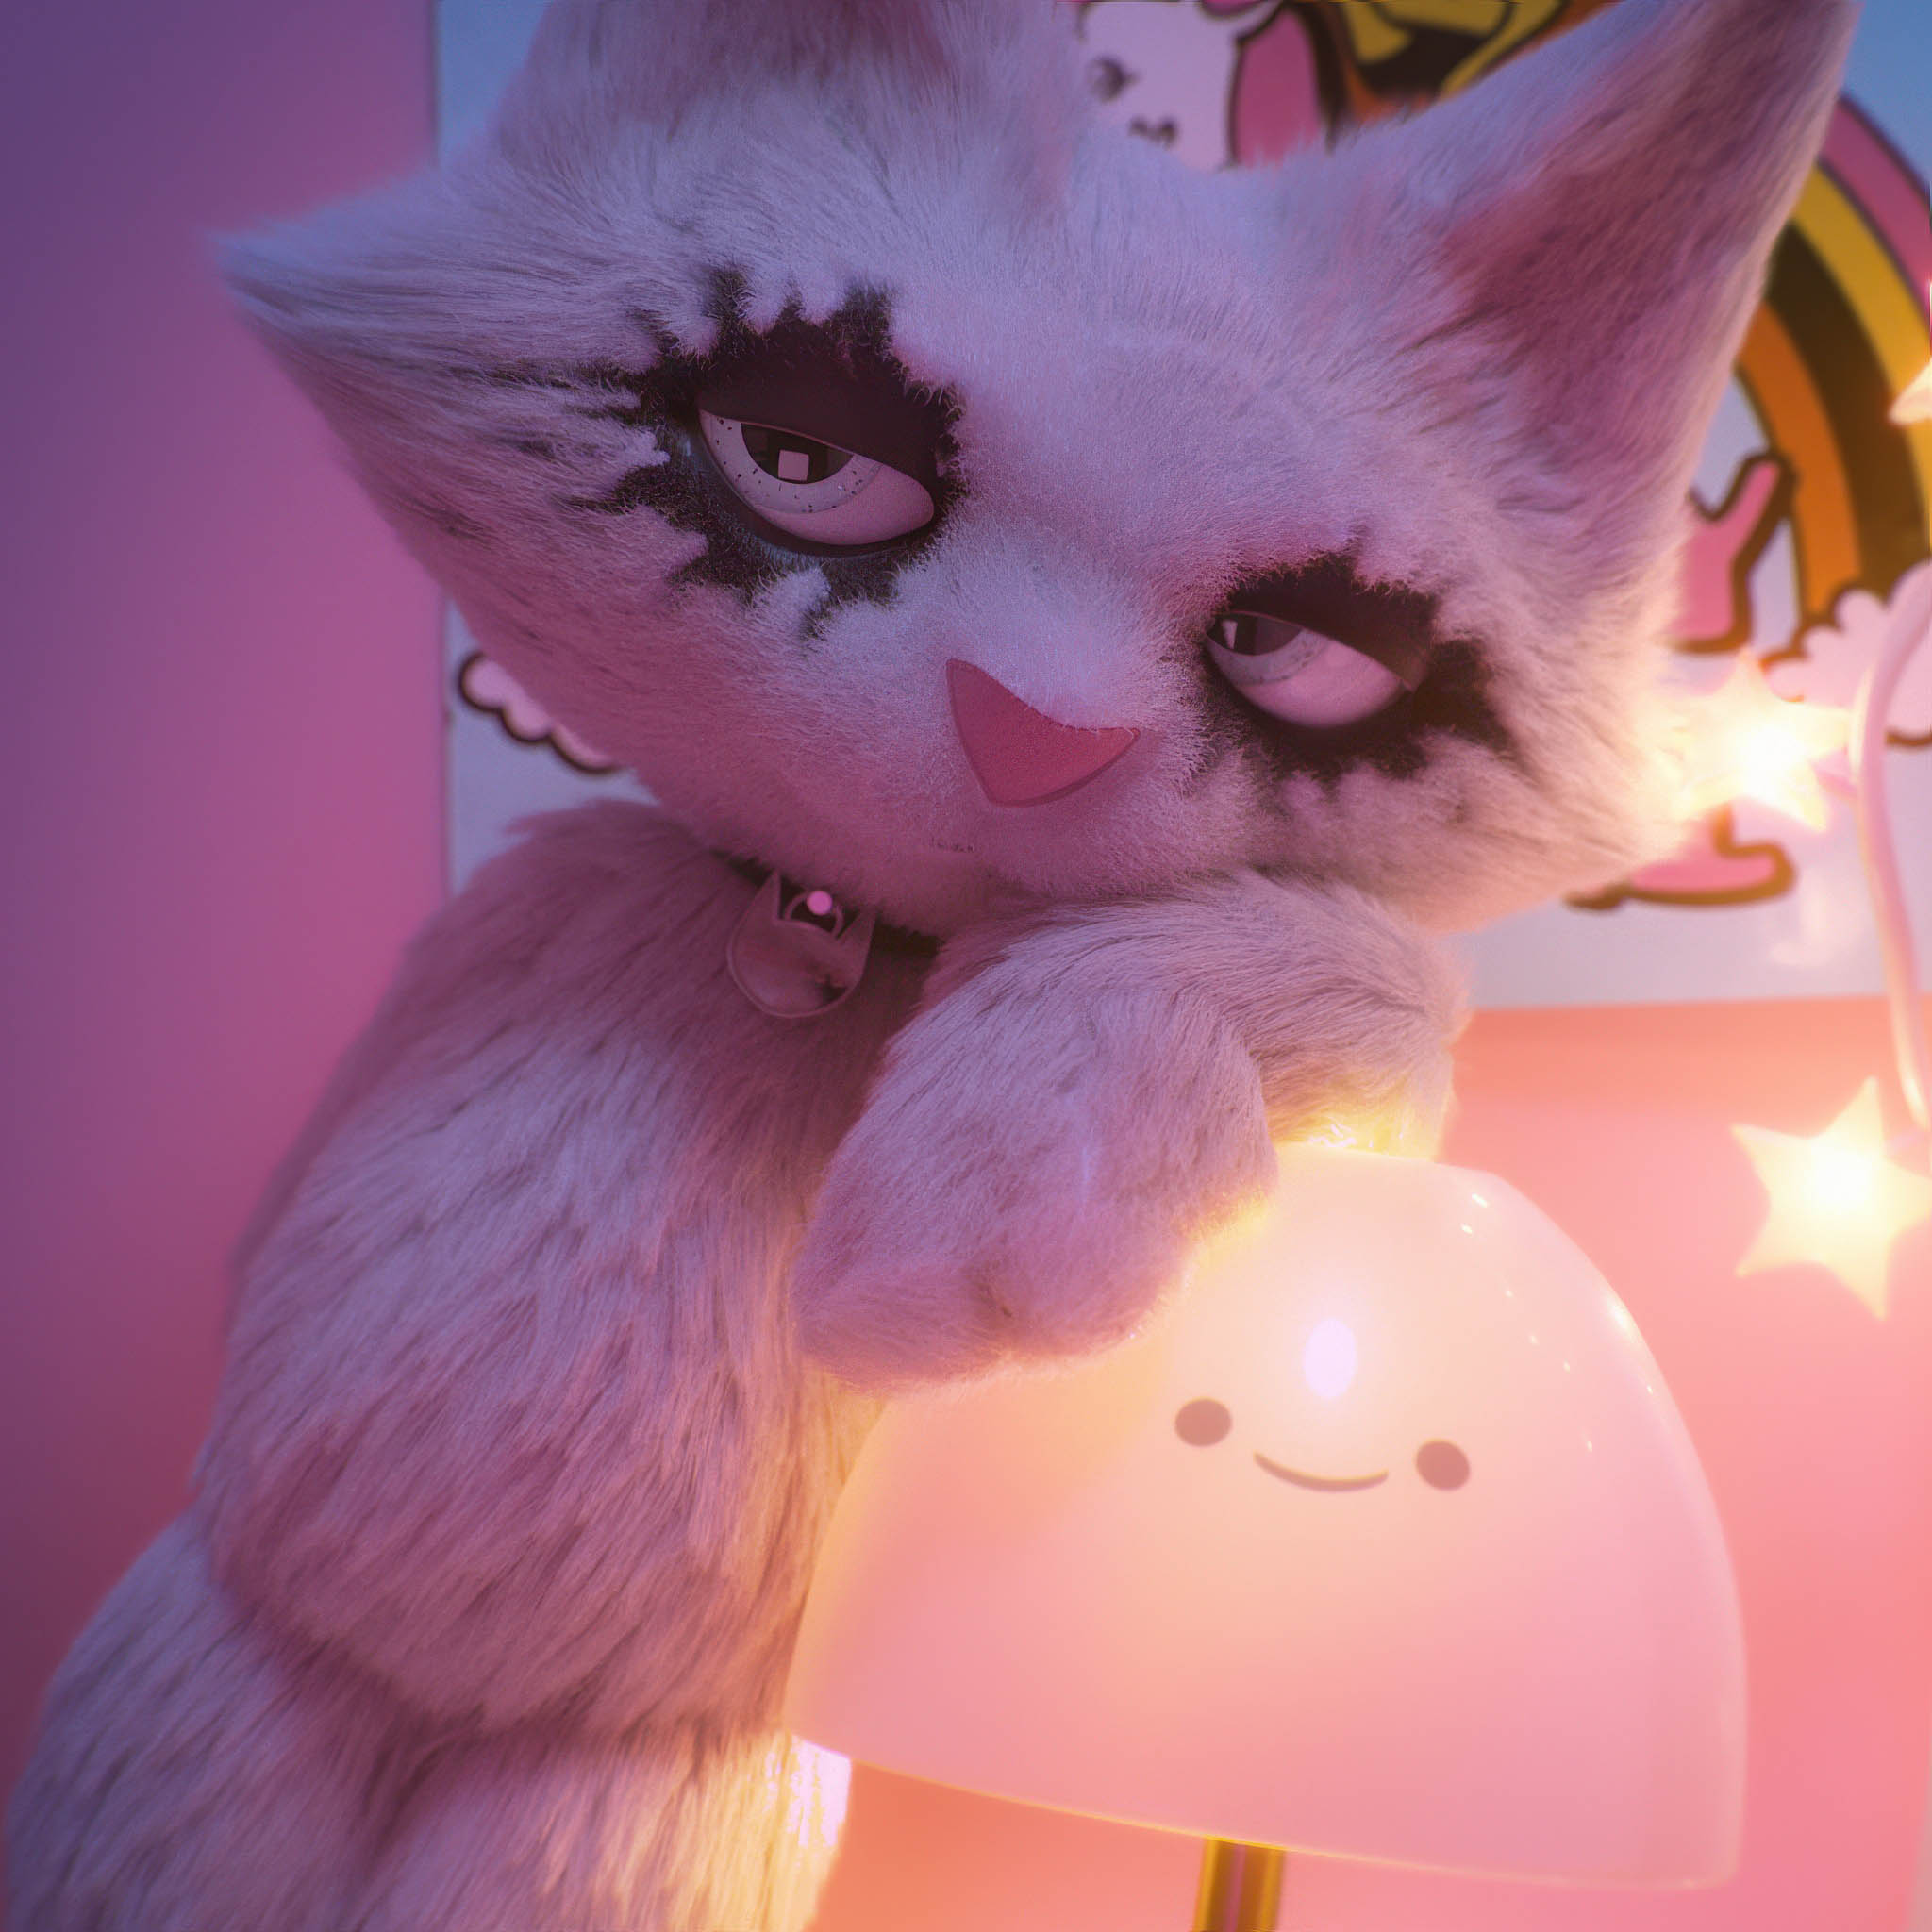
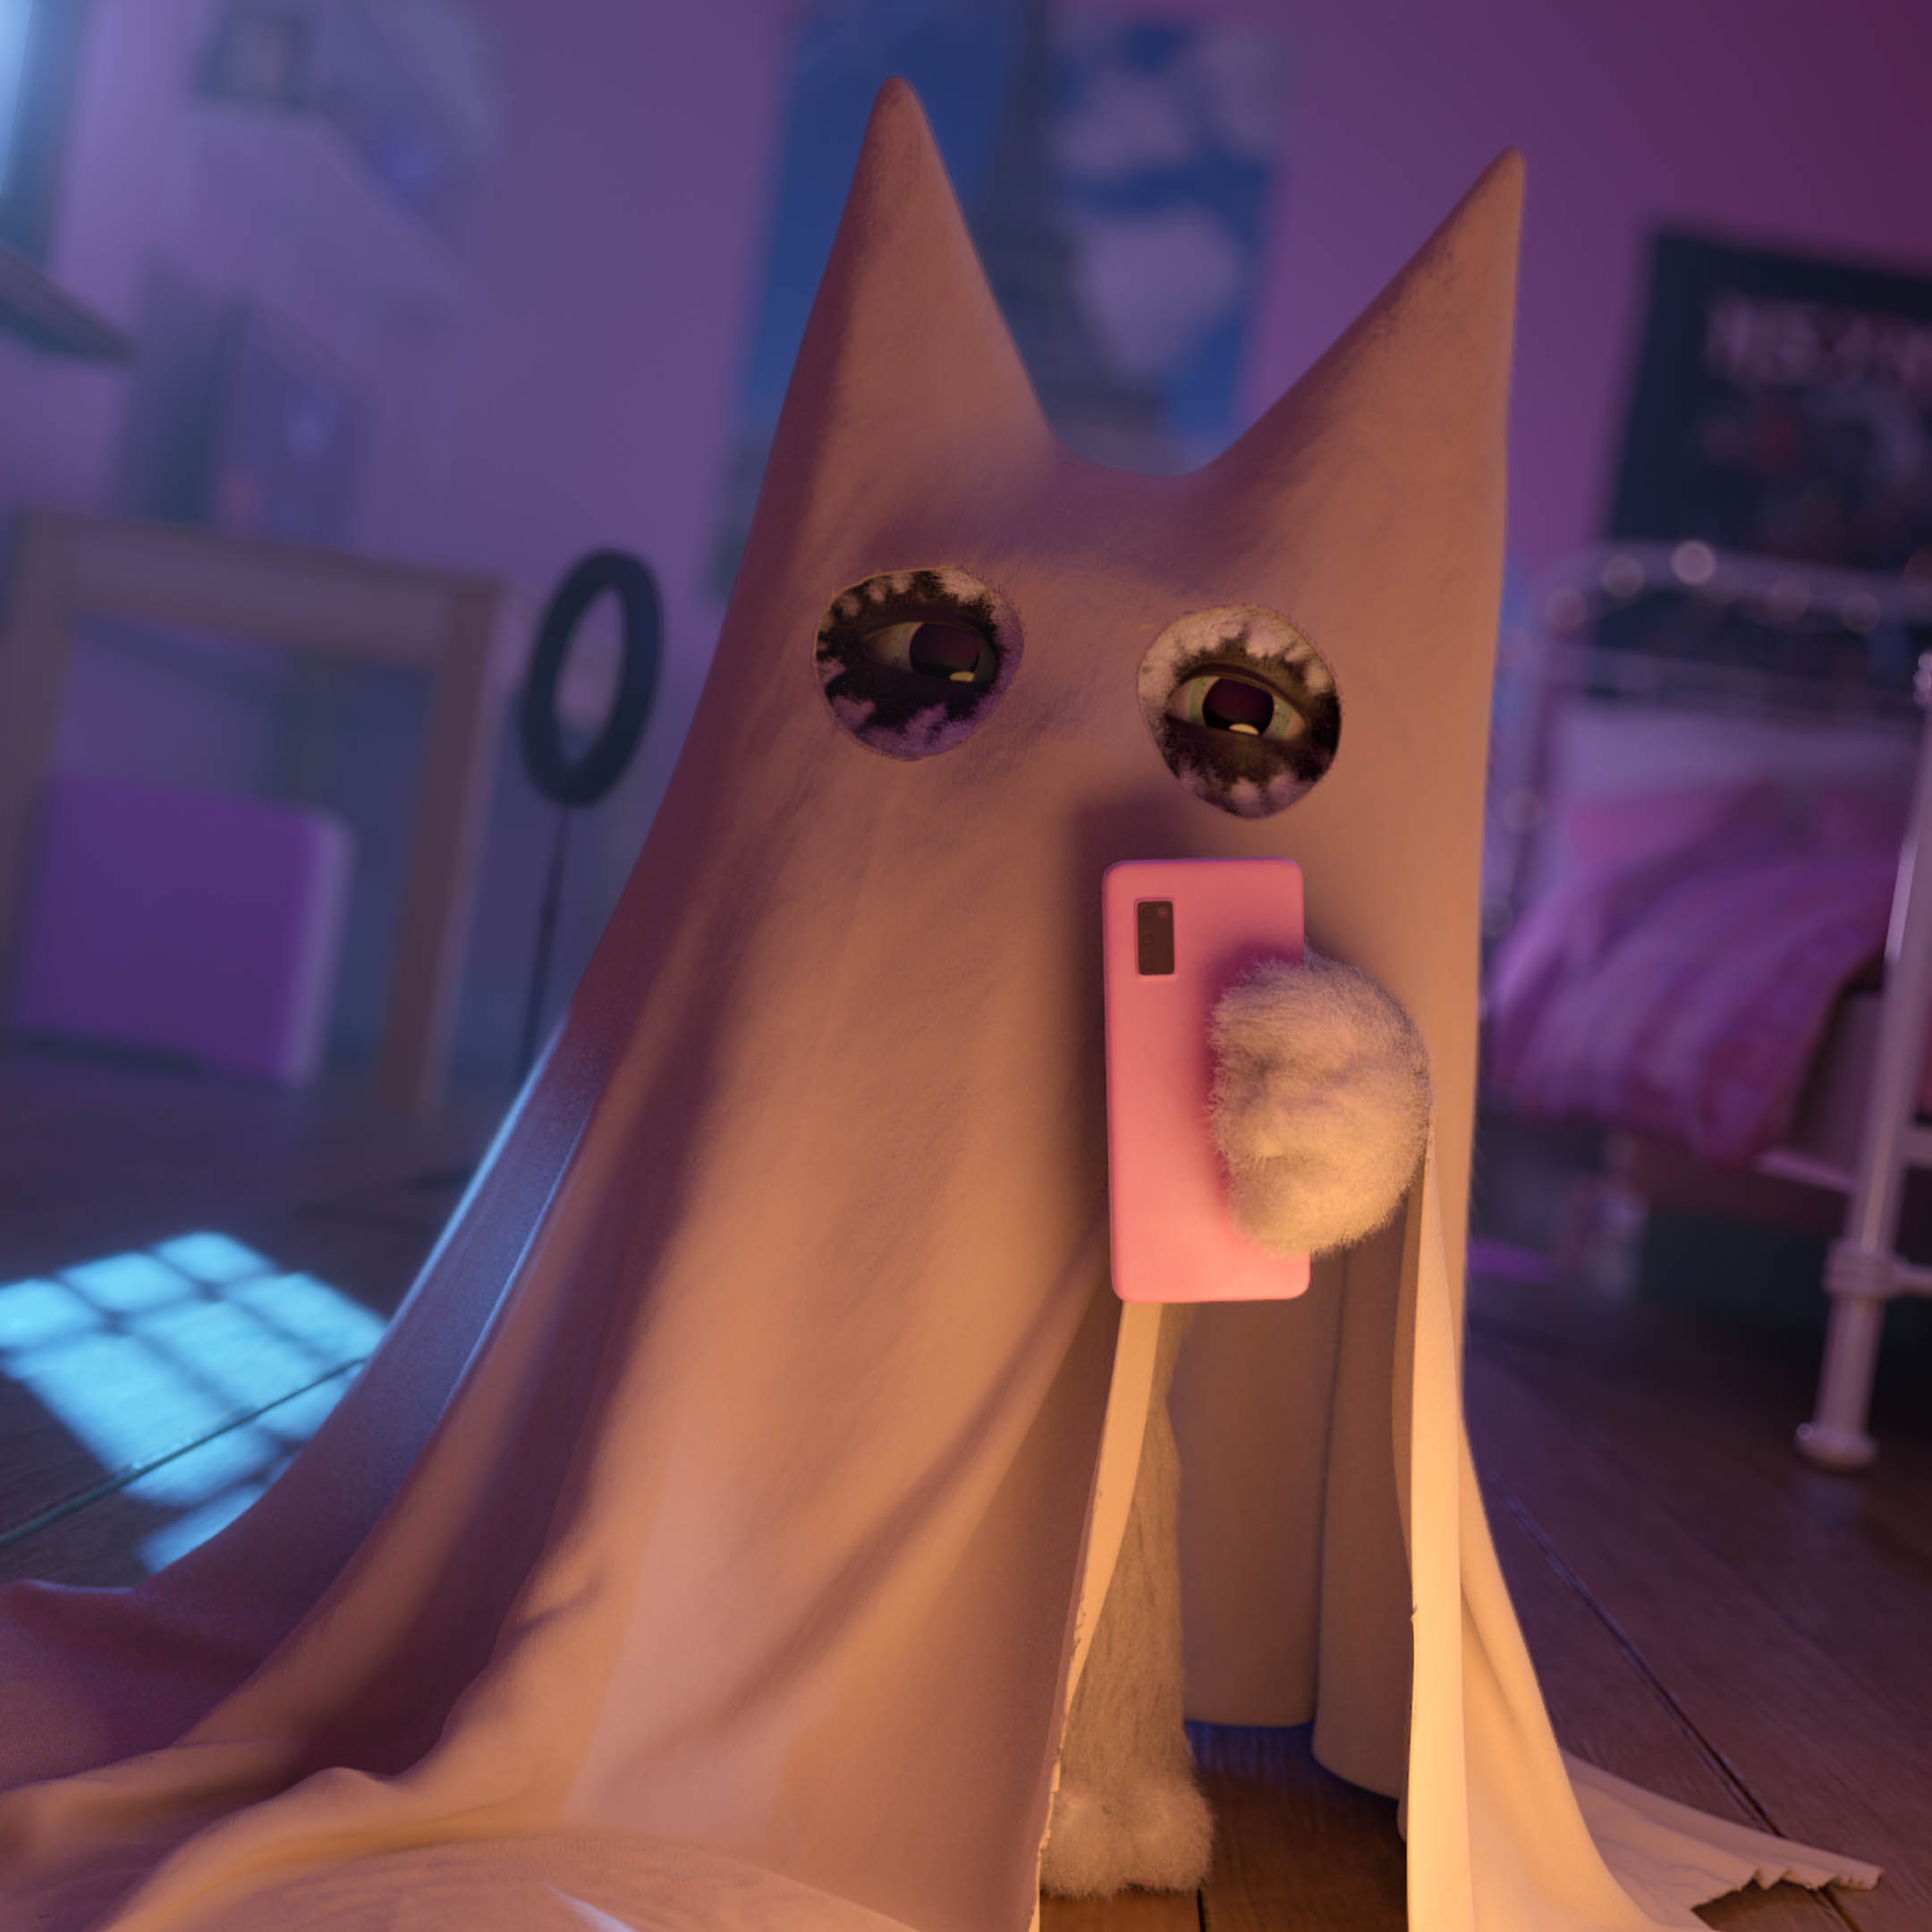
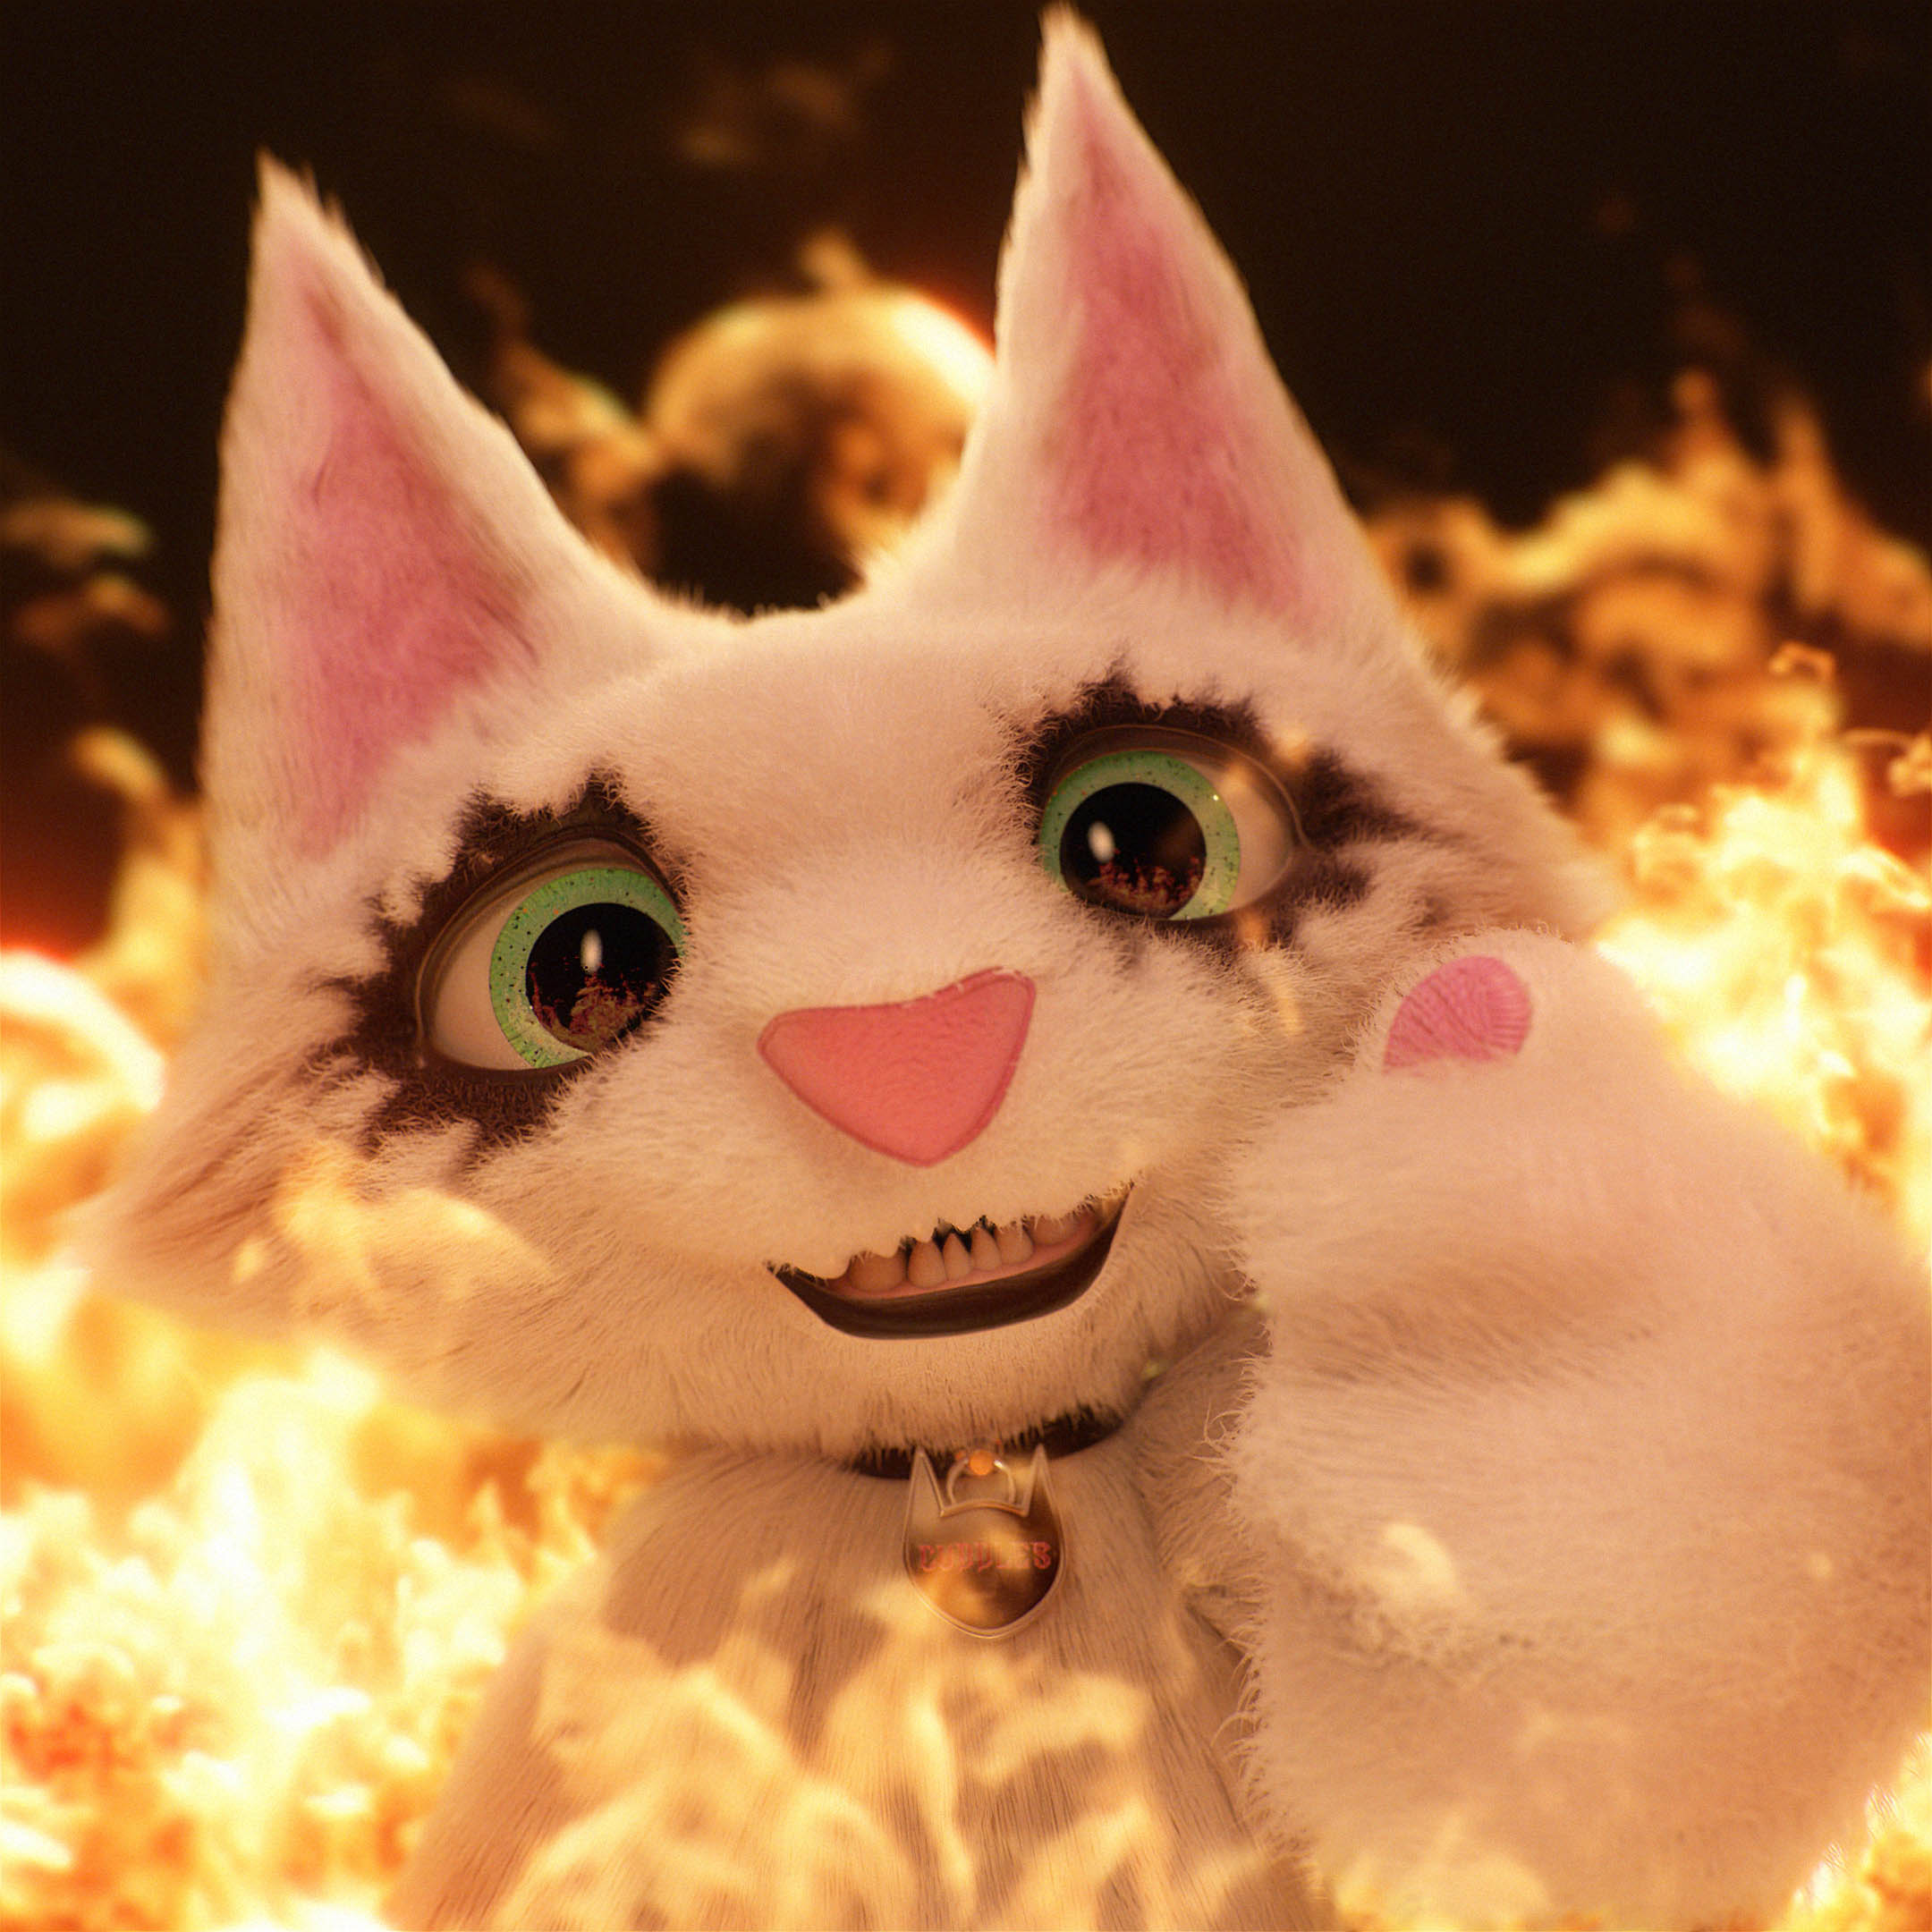
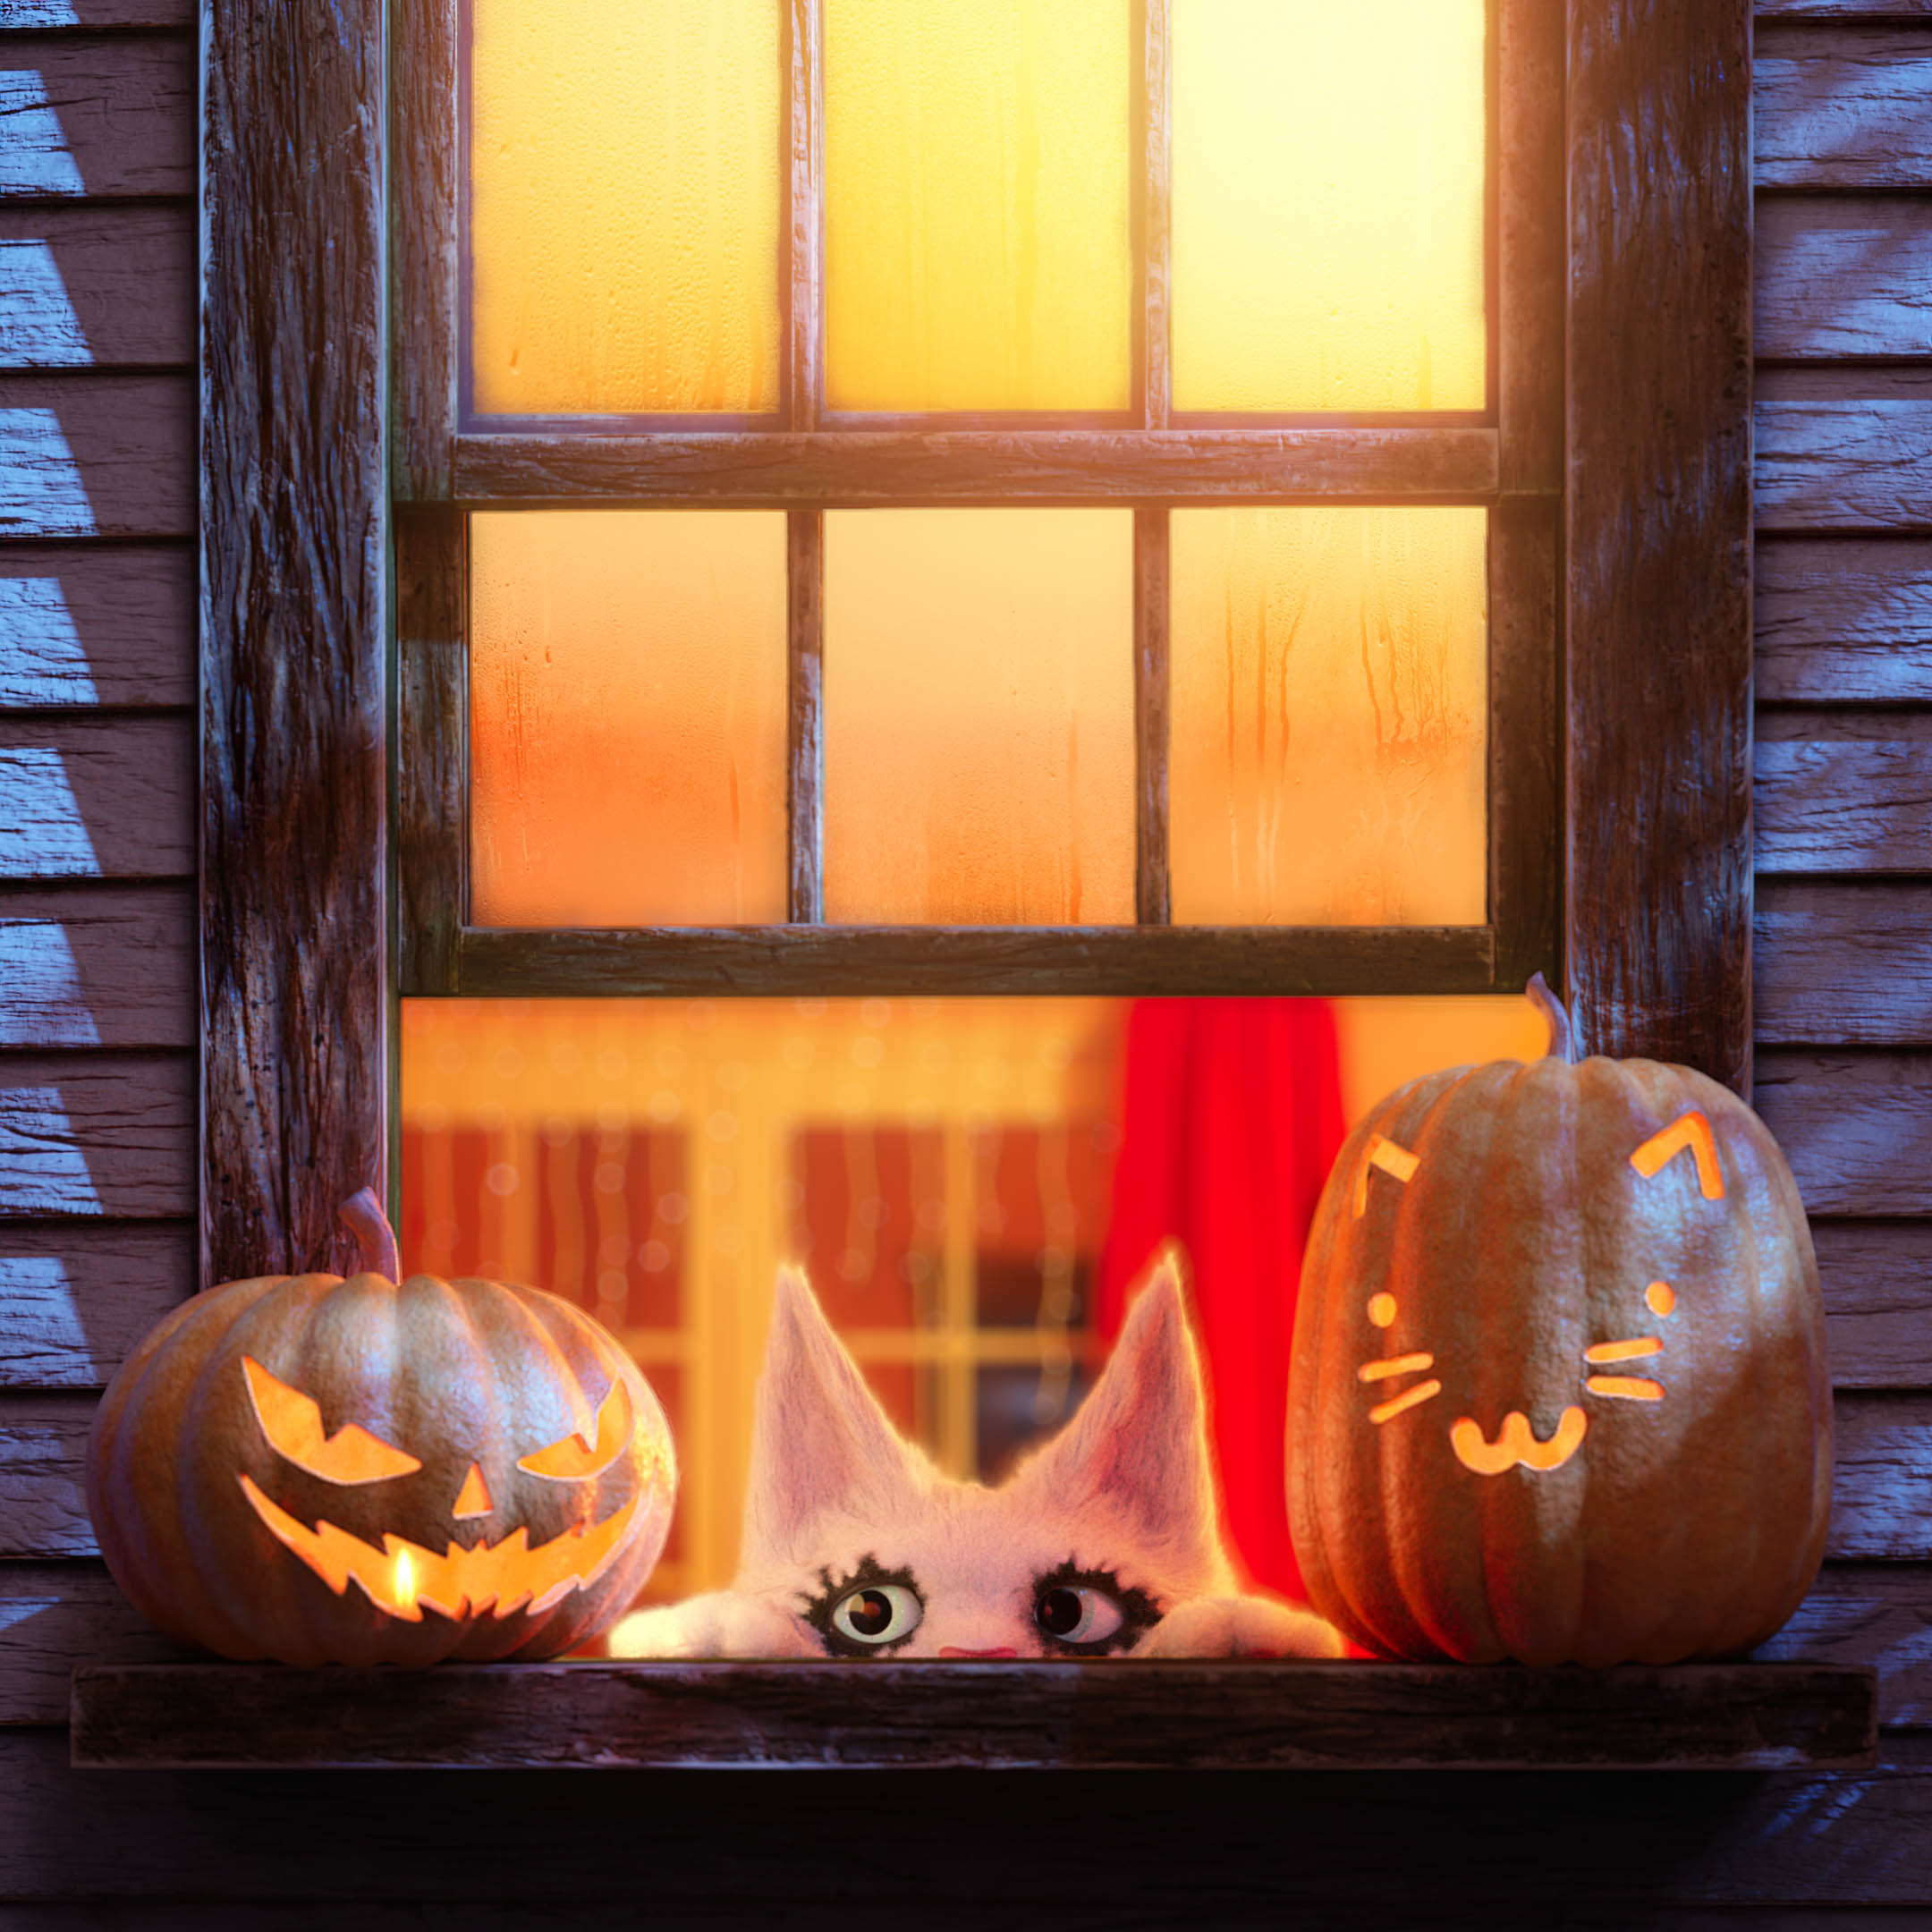
Here are the images and videos produced during this first phase of the project:
Voici les images et vidéos produites lors de cette première phase du projet:
See you on part II of the project!
Rendez vous sur la partie II du projet !